Stream Lorex Cameras & NVRs to DigitalOcean Spaces
Universal FTP offsite backup for Lorex 2K/4K IP cameras and Fusion recorders. Follow our step-by-step setup guide below to stream footage directly to DigitalOcean Spaces via FTP/S with Rilavek as the pipe — zero on-prem NVR or bridge hardware required.
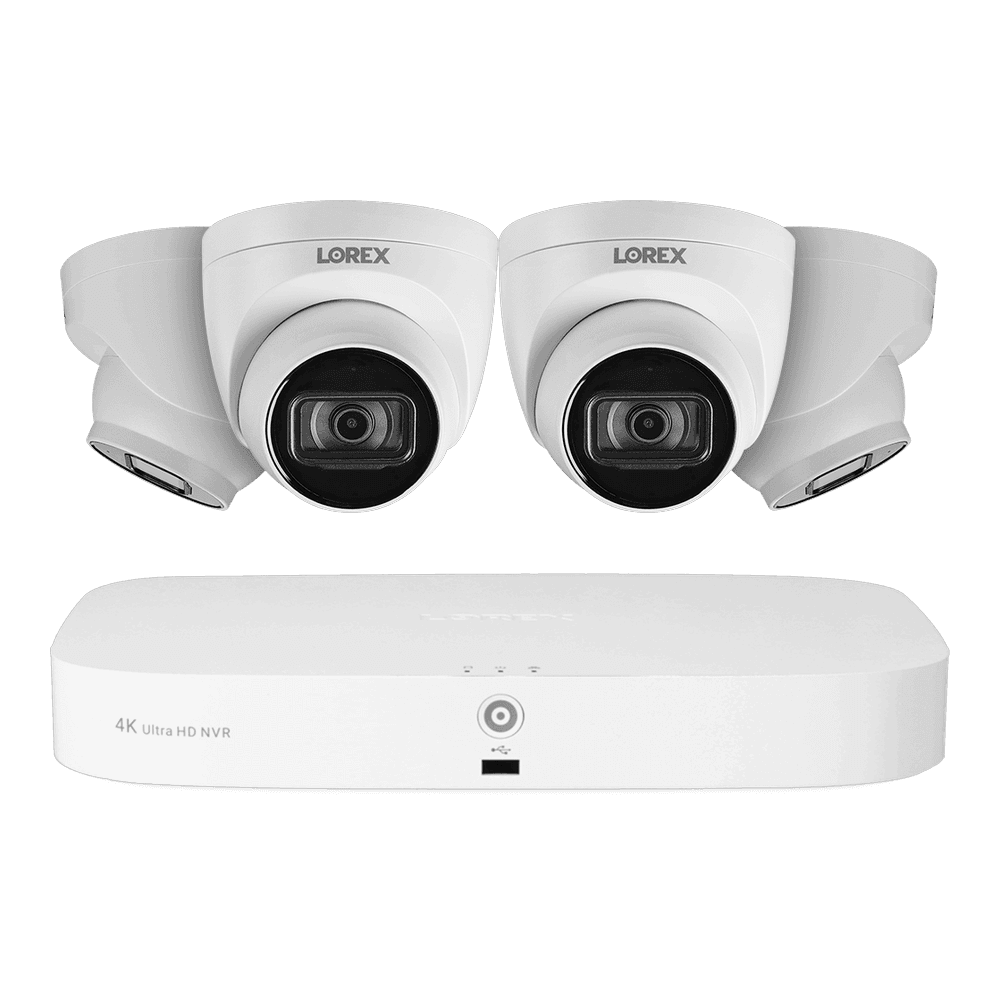
Your Lorex camera or NVR uploads footage offsite in real time directly to DigitalOcean Spaces. Intruders cannot steal or destroy evidence by seizing on-prem recorder hardware.
Store Lorex camera and NVR recordings in DigitalOcean Spaces on your own terms. Apply automated bucket lifecycle rules to roll over or archive clips after 30, 90, or 365 days.
Rilavek ingests native FTP/S streams from your Lorex hardware and writes them directly to DigitalOcean Spaces via multipart S3 PUTs with zero disk writes.


How to Stream Lorex Cameras & NVRs to DigitalOcean Spaces
Follow these 6 steps to provision your object storage, configure Rilavek’s Data Store, Sender, and Ingestion Pipe, enter your camera firmware settings, and establish automated S3 retention rules.
Set Up Your  DigitalOcean Spaces Bucket & Generate API Keys
Configure your target bucket and API credentials inside DigitalOcean Spaces so Rilavek can stream motion clips and continuous video directly into your storage.
Create a Spaces Bucket in Your Preferred Region
In the DigitalOcean Control Panel, click Spaces Object Storage in the left menu, then select Create Bucket in the top right. Choose your preferred datacenter region (e.g. nyc3, ams3, or sfo3), keep Standard Storage selected, and enter a unique bucket name. Ensure file listing is kept Restricted (Private).
Generate a Scoped Access Key Pair
In the Spaces Object Storage page, click the Access Keys tab, then click Create Access Key . Select your access scope (choose Limited access with Read/Write/Delete for your surveillance bucket, or Full access), give your key a name (such as rilavek-other), and confirm creation.
Record Your S3 Endpoint and API Credentials
Your S3 endpoint will follow the regional format: https://<region>.digitaloceanspaces.com.
Official DigitalOcean Spaces Documentation
Add Your Data Store in Rilavek
In your Rilavek dashboard, navigate to Data Stores > New Data Store, select your provider, and enter your S3 credentials. Rilavek verifies the connection with an automated write-probe before saving.
Add New Data Store
Create a Camera Sender in Rilavek
Go to Senders in the Rilavek sidebar and click New Sender. A Sender represents the hardware identity of your Other Lorex Cameras & NVRs and generates a dedicated device-level password.
Create New Sender
Must be at least 6 characters, lowercase, start with a letter/underscore, and contain only letters, numbers, hyphens, or underscores.
Secure credentials will be automatically generated for this sender.
Sender Credentials
Create & Configure Your Ingestion Pipe in Rilavek
Go to Pipes in the sidebar and click Create Pipe. Configure the 4 core sections of your pipeline: General (Pipe ID), Inputs (FTP), Access Control (Sender permission), and Destinations (Data Store).
1General Settings (Pipe ID)
Every pipeline in Rilavek is assigned an immutable, globally unique Pipe ID (e.g. p_cctv9x). This ID acts as an isolated ingestion channel that segregates audit logs, real-time transfer metrics, and storage routing. It also forms the second half of your scoped camera FTP login username (username@p_cctv9x).
Pipe ID
Use this ID to identify this pipe in logs. Combine it with the sender username for complete authentication details.
2Inputs (FTP / FTPS Ingress)
The Inputs configuration defines how camera files enter Rilavek. Enabling the FTP Ingress input provides a persistent, high-availability ingestion server (ftp.rilavek.com) compatible with active and passive FTP modes, explicit TLS negotiation, and standard CCTV firmware video push routines.
Inputs
Enable inputs to receive data.
FTP Ingress
Endpoint enabled. Connect using your Sender credentials.
Example: cam_otherlorexmodel@p_cctv9x
Use the password configured for the specific Sender.
3Access Control (Sender Authorization)
Access Control prevents unauthorized uploads by enforcing a zero-trust boundary on the ingestion pipe. Only explicitly authorized Senders (such as Other Lorex Cameras & NVRs) can authenticate and stream video into this pipe. Any requests with unassigned credentials are rejected at the network edge.
Access Control
Restricts who can upload to this pipe.
Individual Senders
Grant or revoke pipe access for specific individual senders.
4Destinations (Target Cloud Storage Routing)
The Destinations section routes video clips to your target cloud storage provider. Linking your configured Data Store routes all received footage directly to your DigitalOcean Spaces bucket (cctv-lorex-recordings). Video files are committed on-the-fly via parallel multipart S3 PUTs without intermediate disk caching.
Destinations
This is where we send your files to.
Configure FTP, Motion Detection & Linkage in Generic Camera Firmware
Open your camera's web configuration portal in your browser at its local LAN IP address and configure the universal FTP and event settings below:
Step 5AConfigure FTP Streaming Credentials
Click Network > FTP Settings (or Network > Advanced > FTP).
Turn on 'Enable FTP Upload', then enter your Rilavek Regional Gateway server (ftp.rilavek.com), port 21, scoped username (username@pipeId), and device password as indicated by callouts (1) and (2). Ensure Passive Mode (PASV) is checked (3) for seamless firewall traversal, then click 'Test FTP Connection' (4) to verify.
Note on Camera Firmware UIs: Specific camera models (such as Uniview, Hanwha Vision, Ubiquiti UniFi, Bosch, Vivotek, TP-Link, Sunba, Escam, etc.) feature varying menu layouts, but all share the same universal configuration concepts shown below: enter your FTP server credentials with Passive Mode (PASV), define a motion trigger zone, and enable “Upload to FTP” as the action.
FTP & FTPS Upload Settings
Configure cloud storage streaming credentials to upload motion video clips and snapshots directly to your S3 bucket.
cam_generic@p_cctv9xftp.rilavek.com:21. Ingestion pipe and destination S3 bucket are active and accepting streams.Step 5BConfigure Motion Detection Zone & Sensitivity
Click Event > Motion Detection (or Video Analytics).
Turn on 'Enable Motion Detection' and adjust the detection grid over your active surveillance field (1). Set sensitivity to approximately 75% (2) and enable smart Human/Vehicle AI filtering if supported by your camera hardware to minimize false alarms.
Note on Camera Firmware UIs: Specific camera models (such as Uniview, Hanwha Vision, Ubiquiti UniFi, Bosch, Vivotek, TP-Link, Sunba, Escam, etc.) feature varying menu layouts, but all share the same universal configuration concepts shown below: enter your FTP server credentials with Passive Mode (PASV), define a motion trigger zone, and enable “Upload to FTP” as the action.
Motion Detection & Event Zone Setup
Define the motion detection area and AI sensitivity filters so the camera uploads video only when genuine activity occurs.
Step 5CConfigure Linkage Action (Upload Video Clip to FTP)
Click Action > Upload Linkage (or Event > Linkage Action).
Select 'Upload Video Recording to FTP / Cloud' (1) as the primary trigger action. Set a 5-second pre-recording buffer (2) and 30-second post-recording buffer so complete event clips are transmitted to your S3 bucket upon motion detection.
Note on Camera Firmware UIs: Specific camera models (such as Uniview, Hanwha Vision, Ubiquiti UniFi, Bosch, Vivotek, TP-Link, Sunba, Escam, etc.) feature varying menu layouts, but all share the same universal configuration concepts shown below: enter your FTP server credentials with Passive Mode (PASV), define a motion trigger zone, and enable “Upload to FTP” as the action.
Event Linkage & Upload Actions
Instruct the camera firmware what action to take upon motion trigger. Enabling “Upload to FTP” routes video clips directly to Rilavek.
Verify Ingestion
Click Test in your camera's FTP settings or trigger a test recording transfer. In your Rilavek dashboard, navigate to Pipes > your pipeline > Transfers tab to inspect incoming files as video clips stream into DigitalOcean Spaces.
| FILE | SENDER | SIZE | DATE | STATE |
|---|---|---|---|---|
lorex/other/2026-09-10/ch01_143000.mp4 | cam_otherlorexmodel | 18.4 MB | Sep 10, 14:30 | Success |
lorex/other/2026-09-10/ch01_142500.mp4 | cam_otherlorexmodel | 21.2 MB | Sep 10, 14:25 | Success |
lorex/other/2026-09-10/ch01_142000.mp4 | cam_otherlorexmodel | 19.7 MB | Sep 10, 14:20 | Success |
Frequently Asked Questions about Lorex Other Lorex Model on DigitalOcean Spaces
How do Lorex cameras and NVRs stream recordings to DigitalOcean Spaces?
All Lorex IP cameras and NVRs feature native FTP upload capabilities in their firmware. They connect directly to Rilavek on port 21, streaming video chunks straight into your DigitalOcean Spaces bucket with zero disk writes.
How does retention work on DigitalOcean Spaces?
You define exact retention policies (e.g. 30, 90, or 365 days) directly in your DigitalOcean Spaces bucket using standard S3 Lifecycle expiration rules. Footage is never auto-overwritten by proprietary cloud caps.
What happens if my internet connection drops?
The Lorex camera or NVR continues recording locally (to internal drives or MicroSD) and resumes offsite FTP streaming to DigitalOcean Spaces once connectivity is restored.
Stream Lorex Cameras & NVRs to DigitalOcean Spaces
Create your free Rilavek ingestion pipe in seconds. No NVR hardware, no proprietary camera cloud subscriptions, and 100% data ownership in your private storage bucket.
Free plan includes 10GB of transfer. No credit card required.