Here's the situation. You need file uploads. Users will paste photos, drop PDFs, maybe push a video or two. You know you should handle large files gracefully. So you reach for the AWS docs and start wiring up presigned URLs.
Three hours later you've got a createMultipartUpload call, a loop that generates presigned URLs for each part, a separate completeMultipartUpload that needs all the ETags in the right order, and a sneaking feeling that none of this will survive a 60-second LTE dropout on someone's phone while they're uploading a contract.
You're right to feel that way. It won't.
Why Presigned URLs and Multipart Feel Like a Trap
Presigned URLs work. For small files on fast connections, they're fine. The cracks appear at scale.
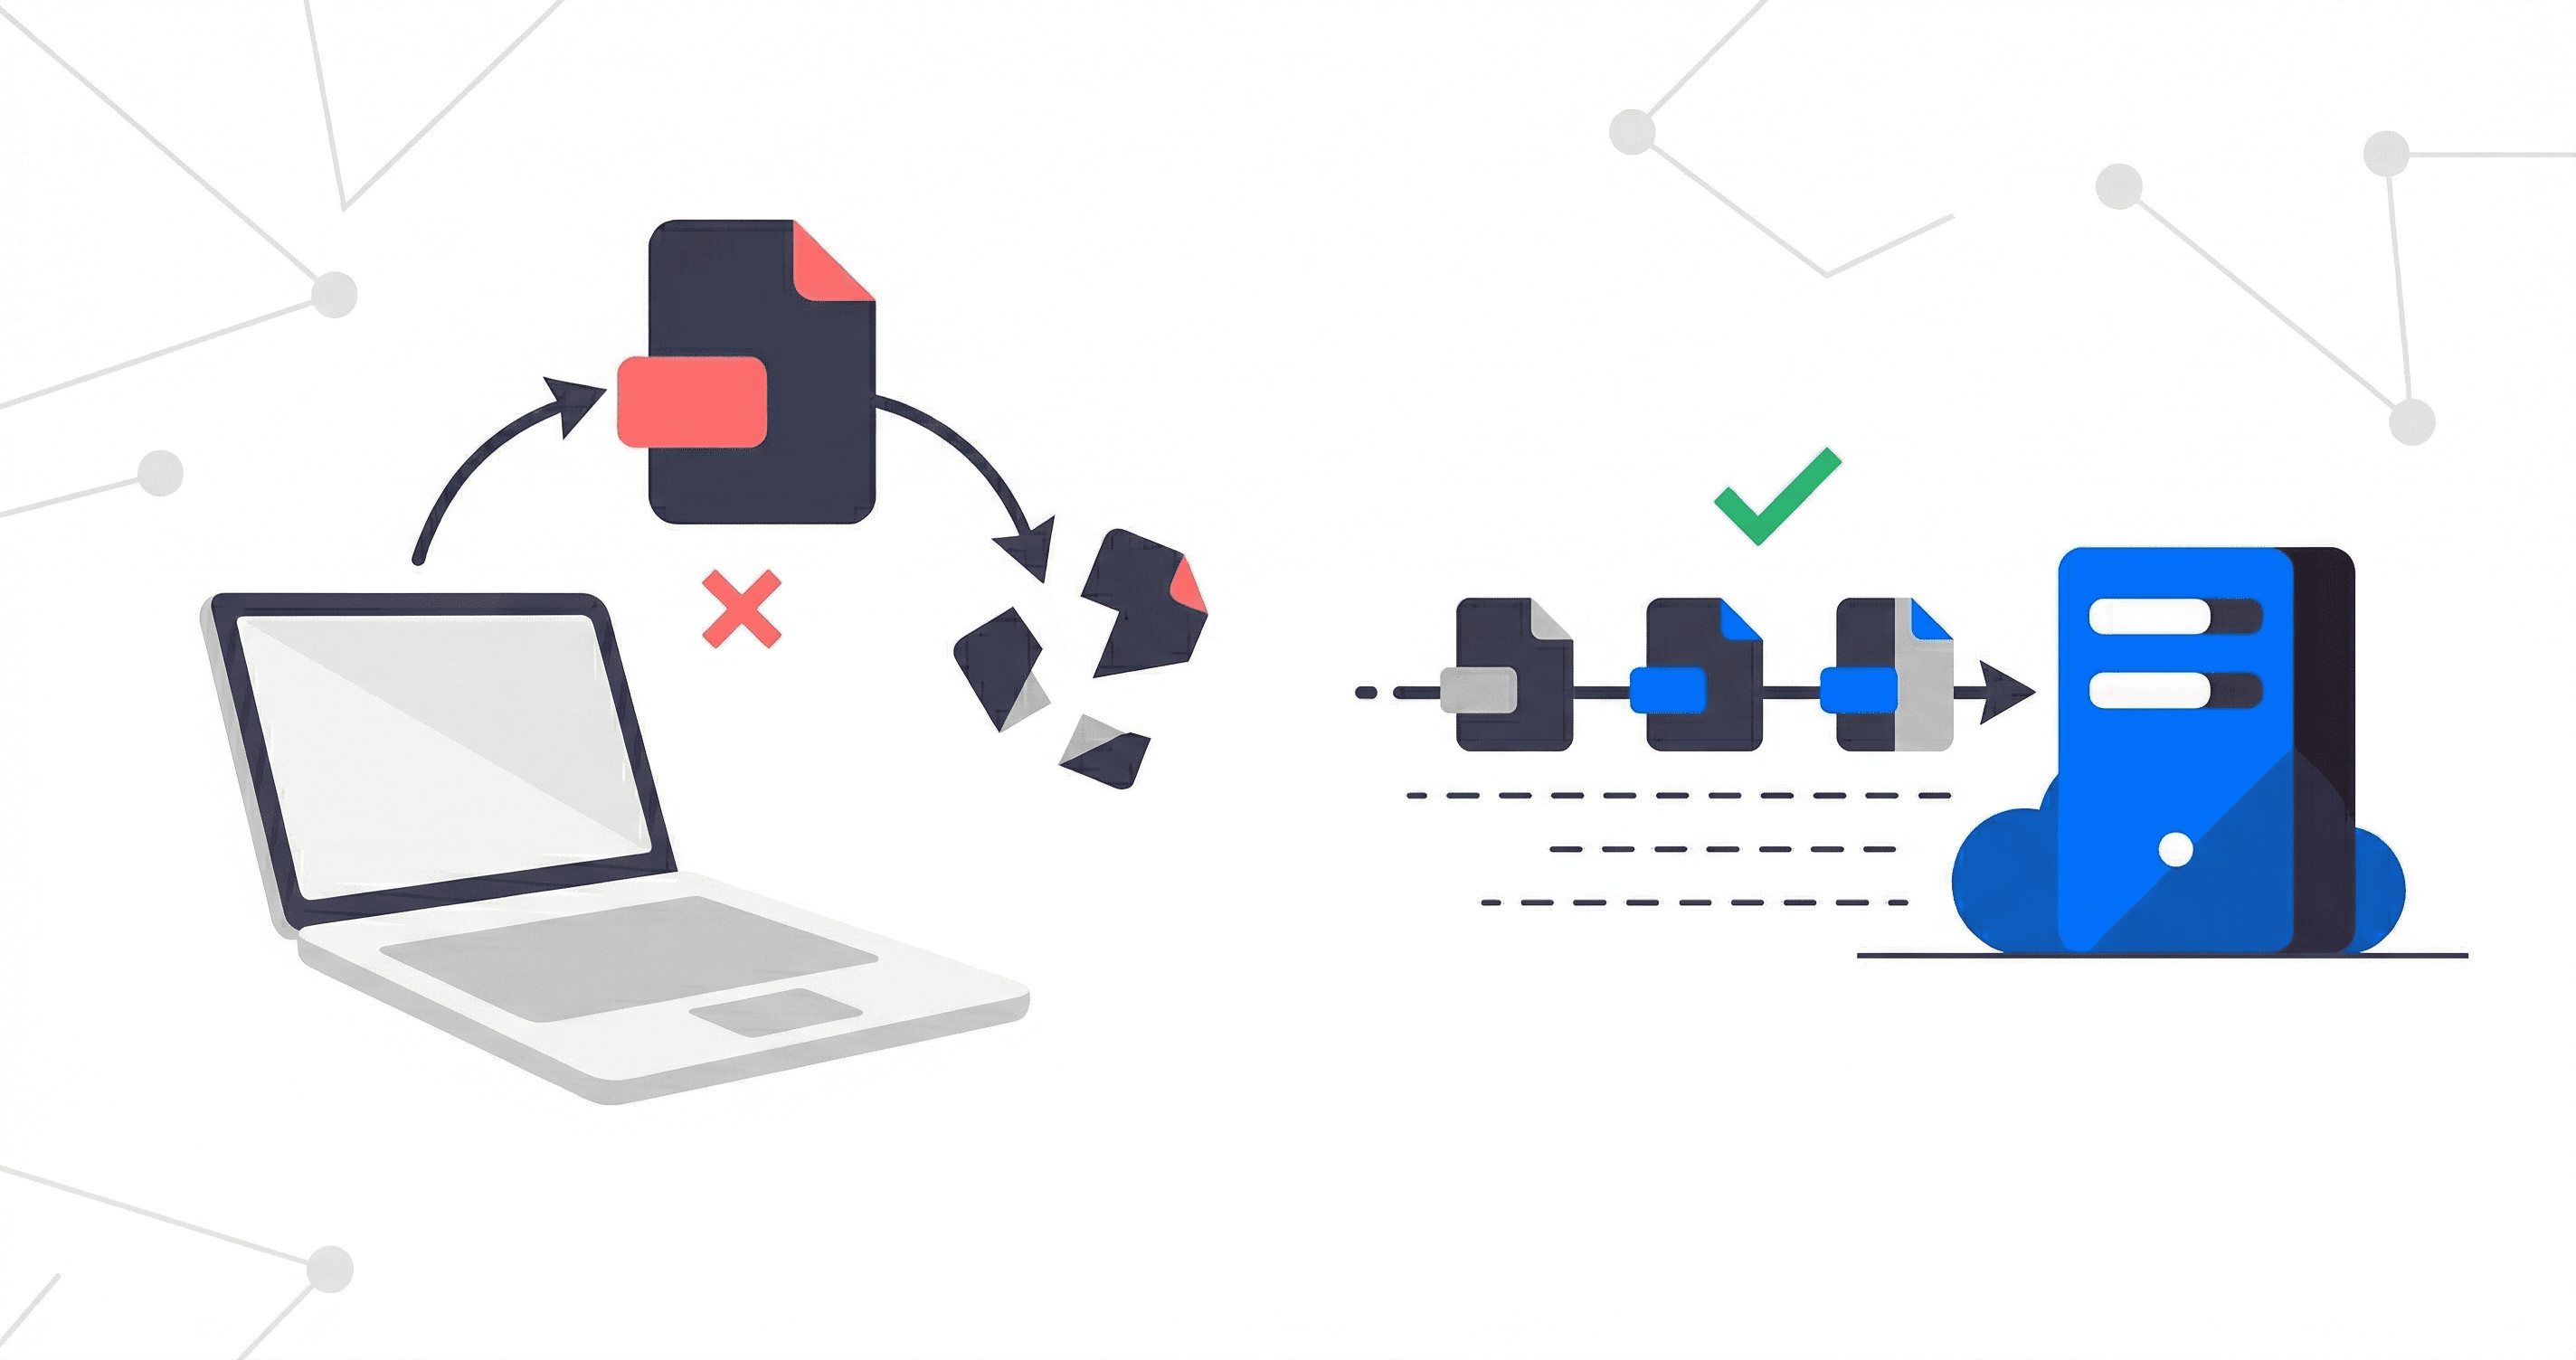
Each URL carries an expiry. On a large file or a slow connection, that timer runs out mid-upload, and you're back to square one unless you've built a retry-and-refresh mechanism from scratch. Multipart uploads leave orphaned parts sitting in your bucket if something goes wrong partway through. Parts you're paying for. Parts you'll have to clean up yourself with lifecycle policies.
The state problem is the worst part, though. All the progress tracking, the ETag list, the part number sequence: it only lives in memory. Close the tab, kill the app, or lose connectivity for more than a few seconds and the client has no idea where it left off. The whole thing restarts from zero.
The fix isn't a cleverer version of the same approach. It's a protocol that was built from scratch for this exact problem.
TUS: 30 Seconds to Understand Why It's Different
TUS (the open resumable upload protocol) solves the resume problem at the protocol level, not the application level.
When a TUS upload starts, the server creates a resource for that upload and hands back an ID. Every chunk sent after that is tied to that resource. If the connection drops at byte 4,000,000, the client doesn't guess. It asks the server directly: "What's the last byte you confirmed?" The server replies with the exact offset. The client picks up from there, no retransmitting anything that already landed safely.
No ETag list. No orphaned parts. No in-memory state that evaporates when the tab closes. The server holds the state. The client can disappear and come back the next day.
That's the entire pitch for TUS. It's not a framework feature. It's what the protocol does.
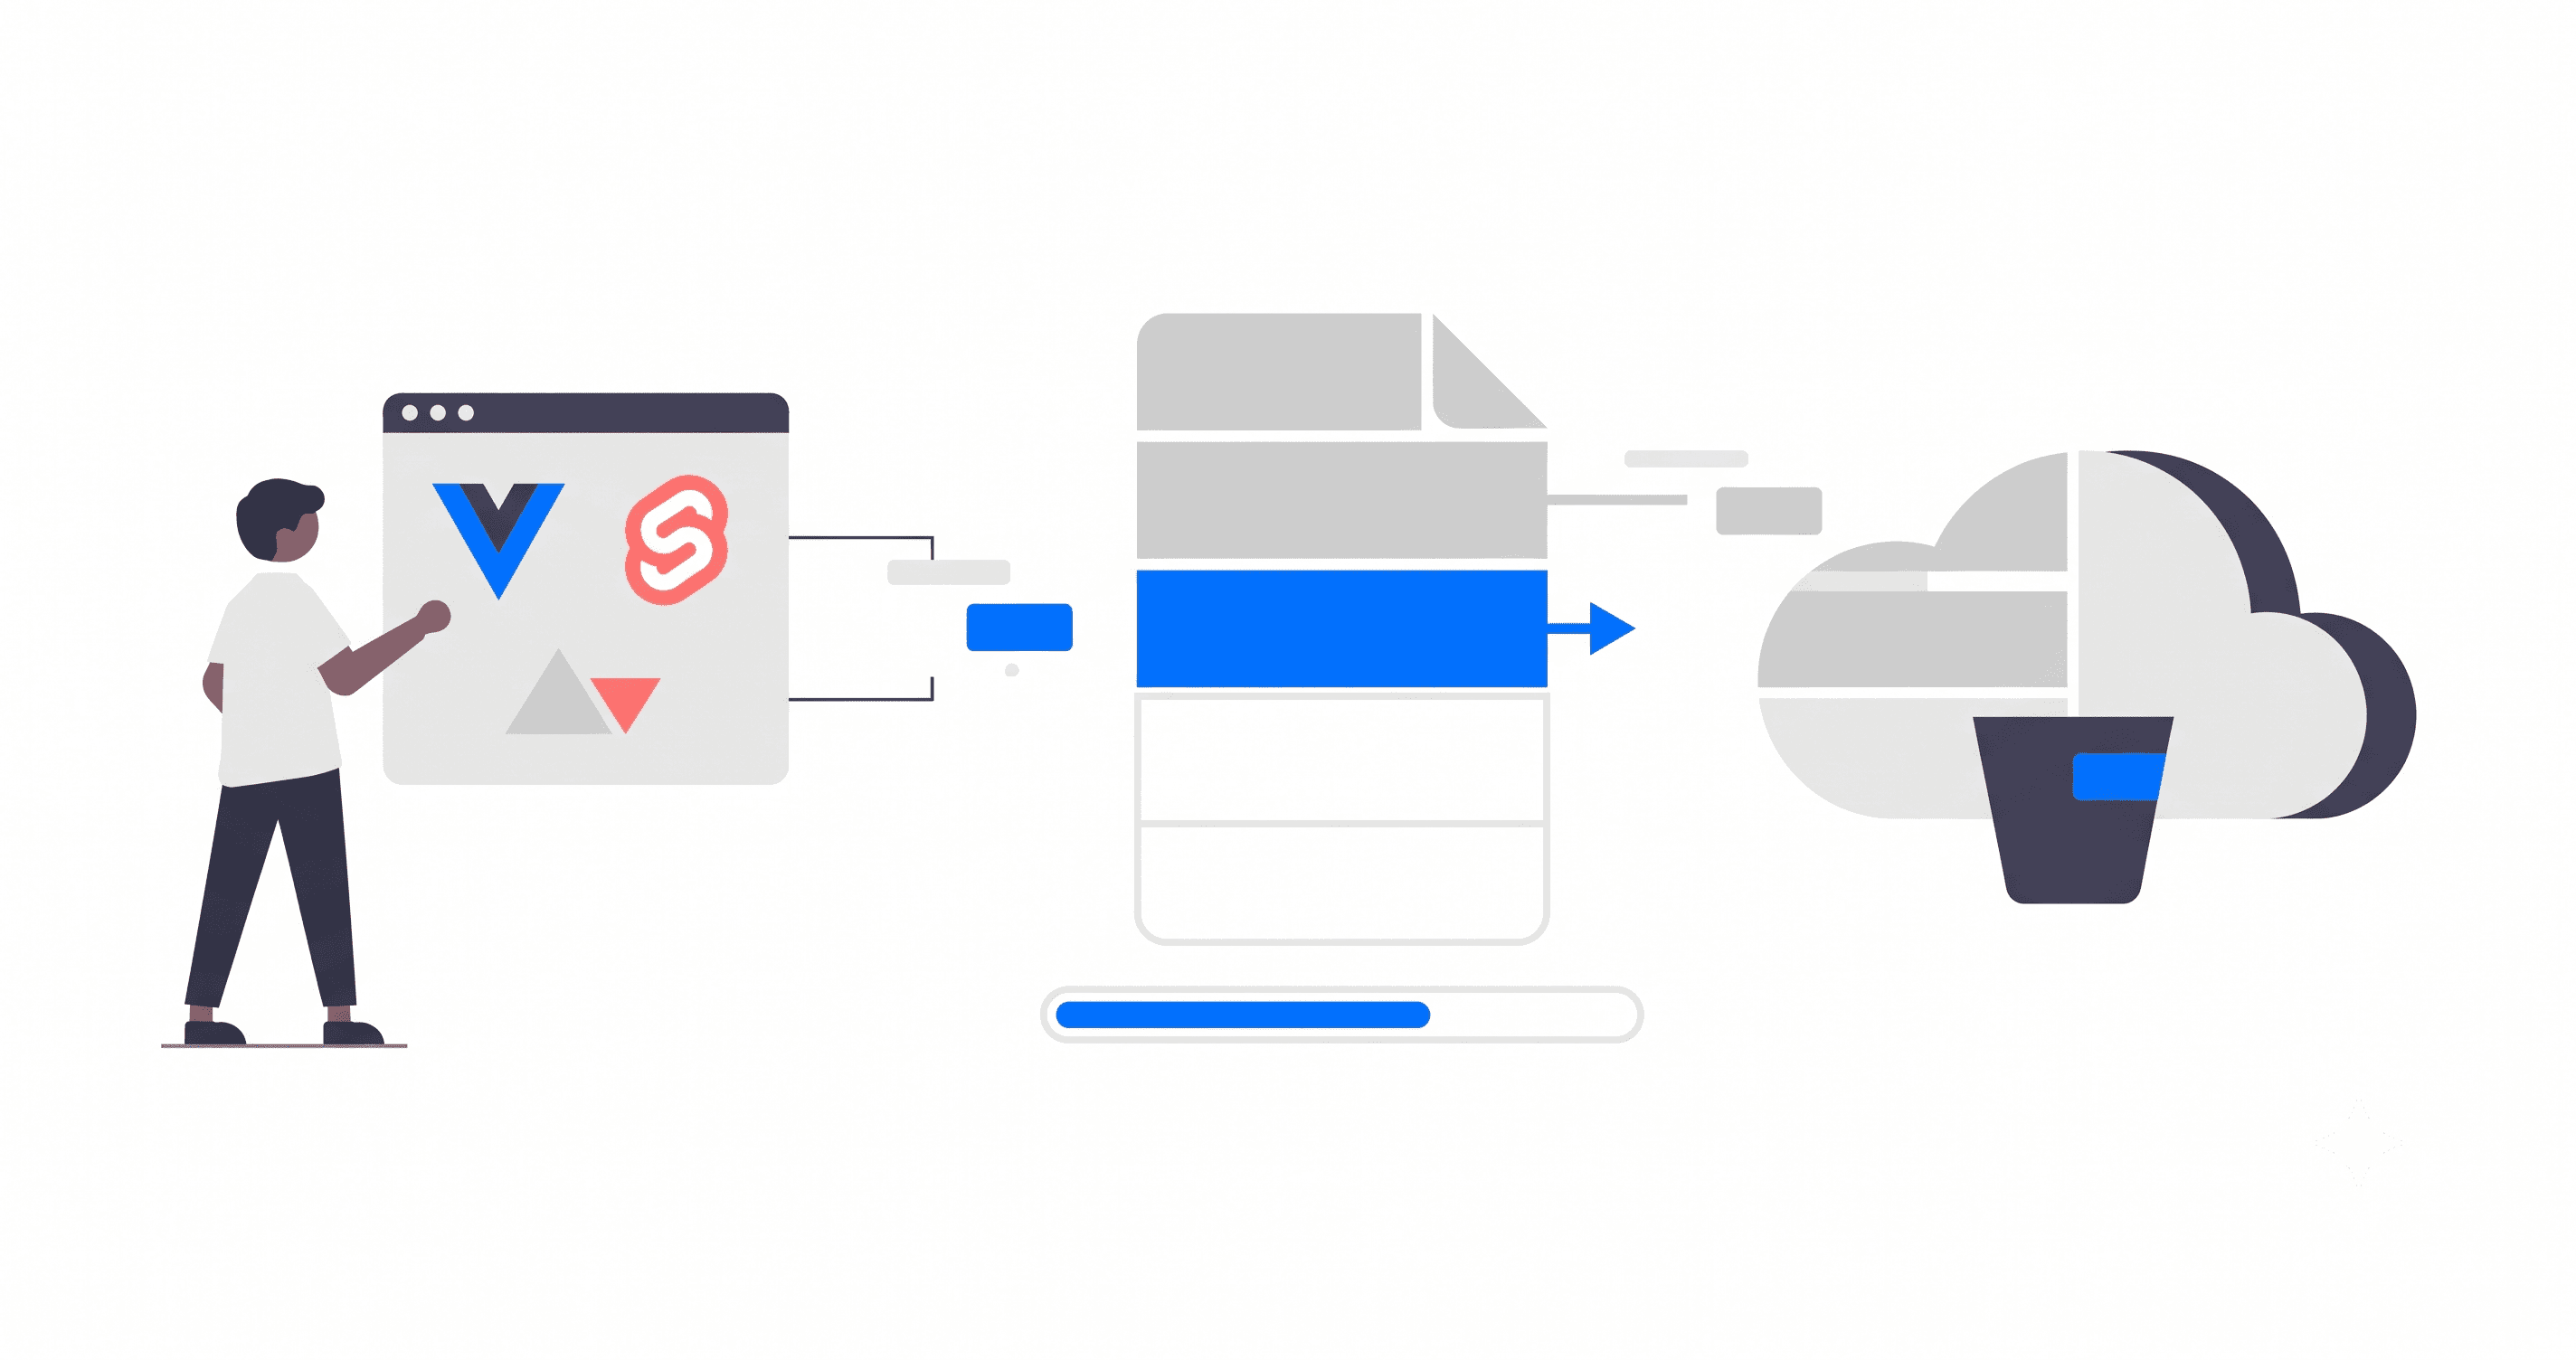
Setting Up the Rilavek Pipe
You need one place to plug in your TUS endpoint without running your own tusd server. That's the role Rilavek's HTTP (TUS) source plays. You get a live TUS endpoint per Pipe, streaming straight into your S3 bucket, with no intermediate disk storage and no server to maintain.
Create your free account here. No card required. The free tier gives you 10 GB/month of transfer.
Step 1: Connect Your S3 Bucket
In the dashboard, go to Destinations and add a new one. Point it at your S3 bucket with an IAM user that has s3:PutObject on that bucket only. If you don't have one set up yet, the S3 permissions guide walks through the exact policy you need.
Step 2: Create a Pipe and Enable the HTTP (TUS) Source
A Pipe is the routing layer. Give it a name, then in the Inputs section, enable the HTTPS (TUS) source. Rilavek will display your TUS endpoint URL right away.
Inputs
Enable protocols to receive data.
Copy the endpoint URL. You'll need your Pipe ID from this URL in the next step.
Step 3: Create a Sender and Get Its API Token
Go to Senders and create one. Call it frontend-uploader or whatever makes sense for your project. Once saved, you'll see its API token starting with sk_.
That sk_ token is a private secret. It never touches the browser. You'll use it on your backend (or in a quick local script during testing) to generate short-lived tmp_ upload tokens that are safe to hand to the client.
Step 4: Configure a Webhook (Optional but Worth It)
While you're in the Pipe settings, flip on the Webhook output. Enter a URL you want Rilavek to POST to whenever an upload completes. If you don't have a webhook endpoint ready, webhook.site gives you a temporary one you can watch in real time. We'll look at the payload it sends in a moment.
The Frontend Code
Everything from here is client-side. No backend, no Lambda, no Express server listening for S3 events. You're just writing code for the browser alongside tus-js-client.
Building a UI? If you want a beautiful, pre-built interface instead of rolling your own, Uppy has a fantastic TUS plugin that drops right in. For this guide, we'll keep it raw and build from scratch so you can see exactly how the mechanics work.
Install the library:
npm install tus-js-client
Here's the core logic. You can drop this into your existing frontend component and just wire up the UI placeholders:
import * as tus from "tus-js-client";

const PIPE_ID   = "YOUR_PIPE_ID";
const TMP_TOKEN = "YOUR_TMP_TOKEN"; // Should be generated by your backend

const fileInput = document.getElementById("my-file-input");
const uploadBtn = document.getElementById("my-upload-button");

uploadBtn.addEventListener("click", () => {
  const file = fileInput.files[0];
  if (!file) return;

  // UI: Initialize your progress bar or loading state here
  console.log("Starting upload...");

  const upload = new tus.Upload(file, {
    endpoint: `https://upload.rilavek.com/pipes/${PIPE_ID}/files/`,
    retryDelays: [0, 1000, 3000, 5000], // Automatic retry backoff
    headers: {
      Authorization: `Bearer ${TMP_TOKEN}`,
    },
    metadata: {
      filename: file.name,
      filetype: file.type,
    },
    onProgress(bytesUploaded, bytesTotal) {
      const percentage = ((bytesUploaded / bytesTotal) * 100).toFixed(2);

      // UI: Update your progress bar width/label here
      // Example: progressBar.style.width = percentage + "%";
      console.log(`Upload progress: ${percentage}%`);
    },
    onSuccess() {
      // UI: Finalize progress bar and show a success message
      console.log("Upload finished successfully!");
    },
    onError(error) {
      // UI: Handle the error and notify the user
      console.error("Upload failed:", error);
    },
  });

  // Check for an existing incomplete upload in localStorage and resume it
  upload.findPreviousUploads().then((previousUploads) => {
    if (previousUploads.length > 0) {
      upload.resumeFromPreviousUpload(previousUploads[0]);
    }
    upload.start();
  });
});
It handles progress, retry backoff, and resuming an incomplete upload if the user comes back later. The retryDelays array tells tus-js-client to retry automatically after 0s, 1s, 3s, and 5s on any network failure, so you don't even have to write that retry loop yourself.
Generating the tmp_ Token
During local testing you can generate a token straight from your terminal:
curl -X POST https://rilavek.com/api/v1/tokens \
  -H "Authorization: Bearer sk_YOUR_PRIVATE_SENDER_TOKEN" \
  -H "Content-Type: application/json" \
  -d '{"pipeId": "YOUR_PIPE_ID"}'
In production, this call lives on your backend. Your frontend requests a fresh tmp_ token from your own API, which calls Rilavek, and then uses that temporary token for the upload. The sk_ key never leaves your server.
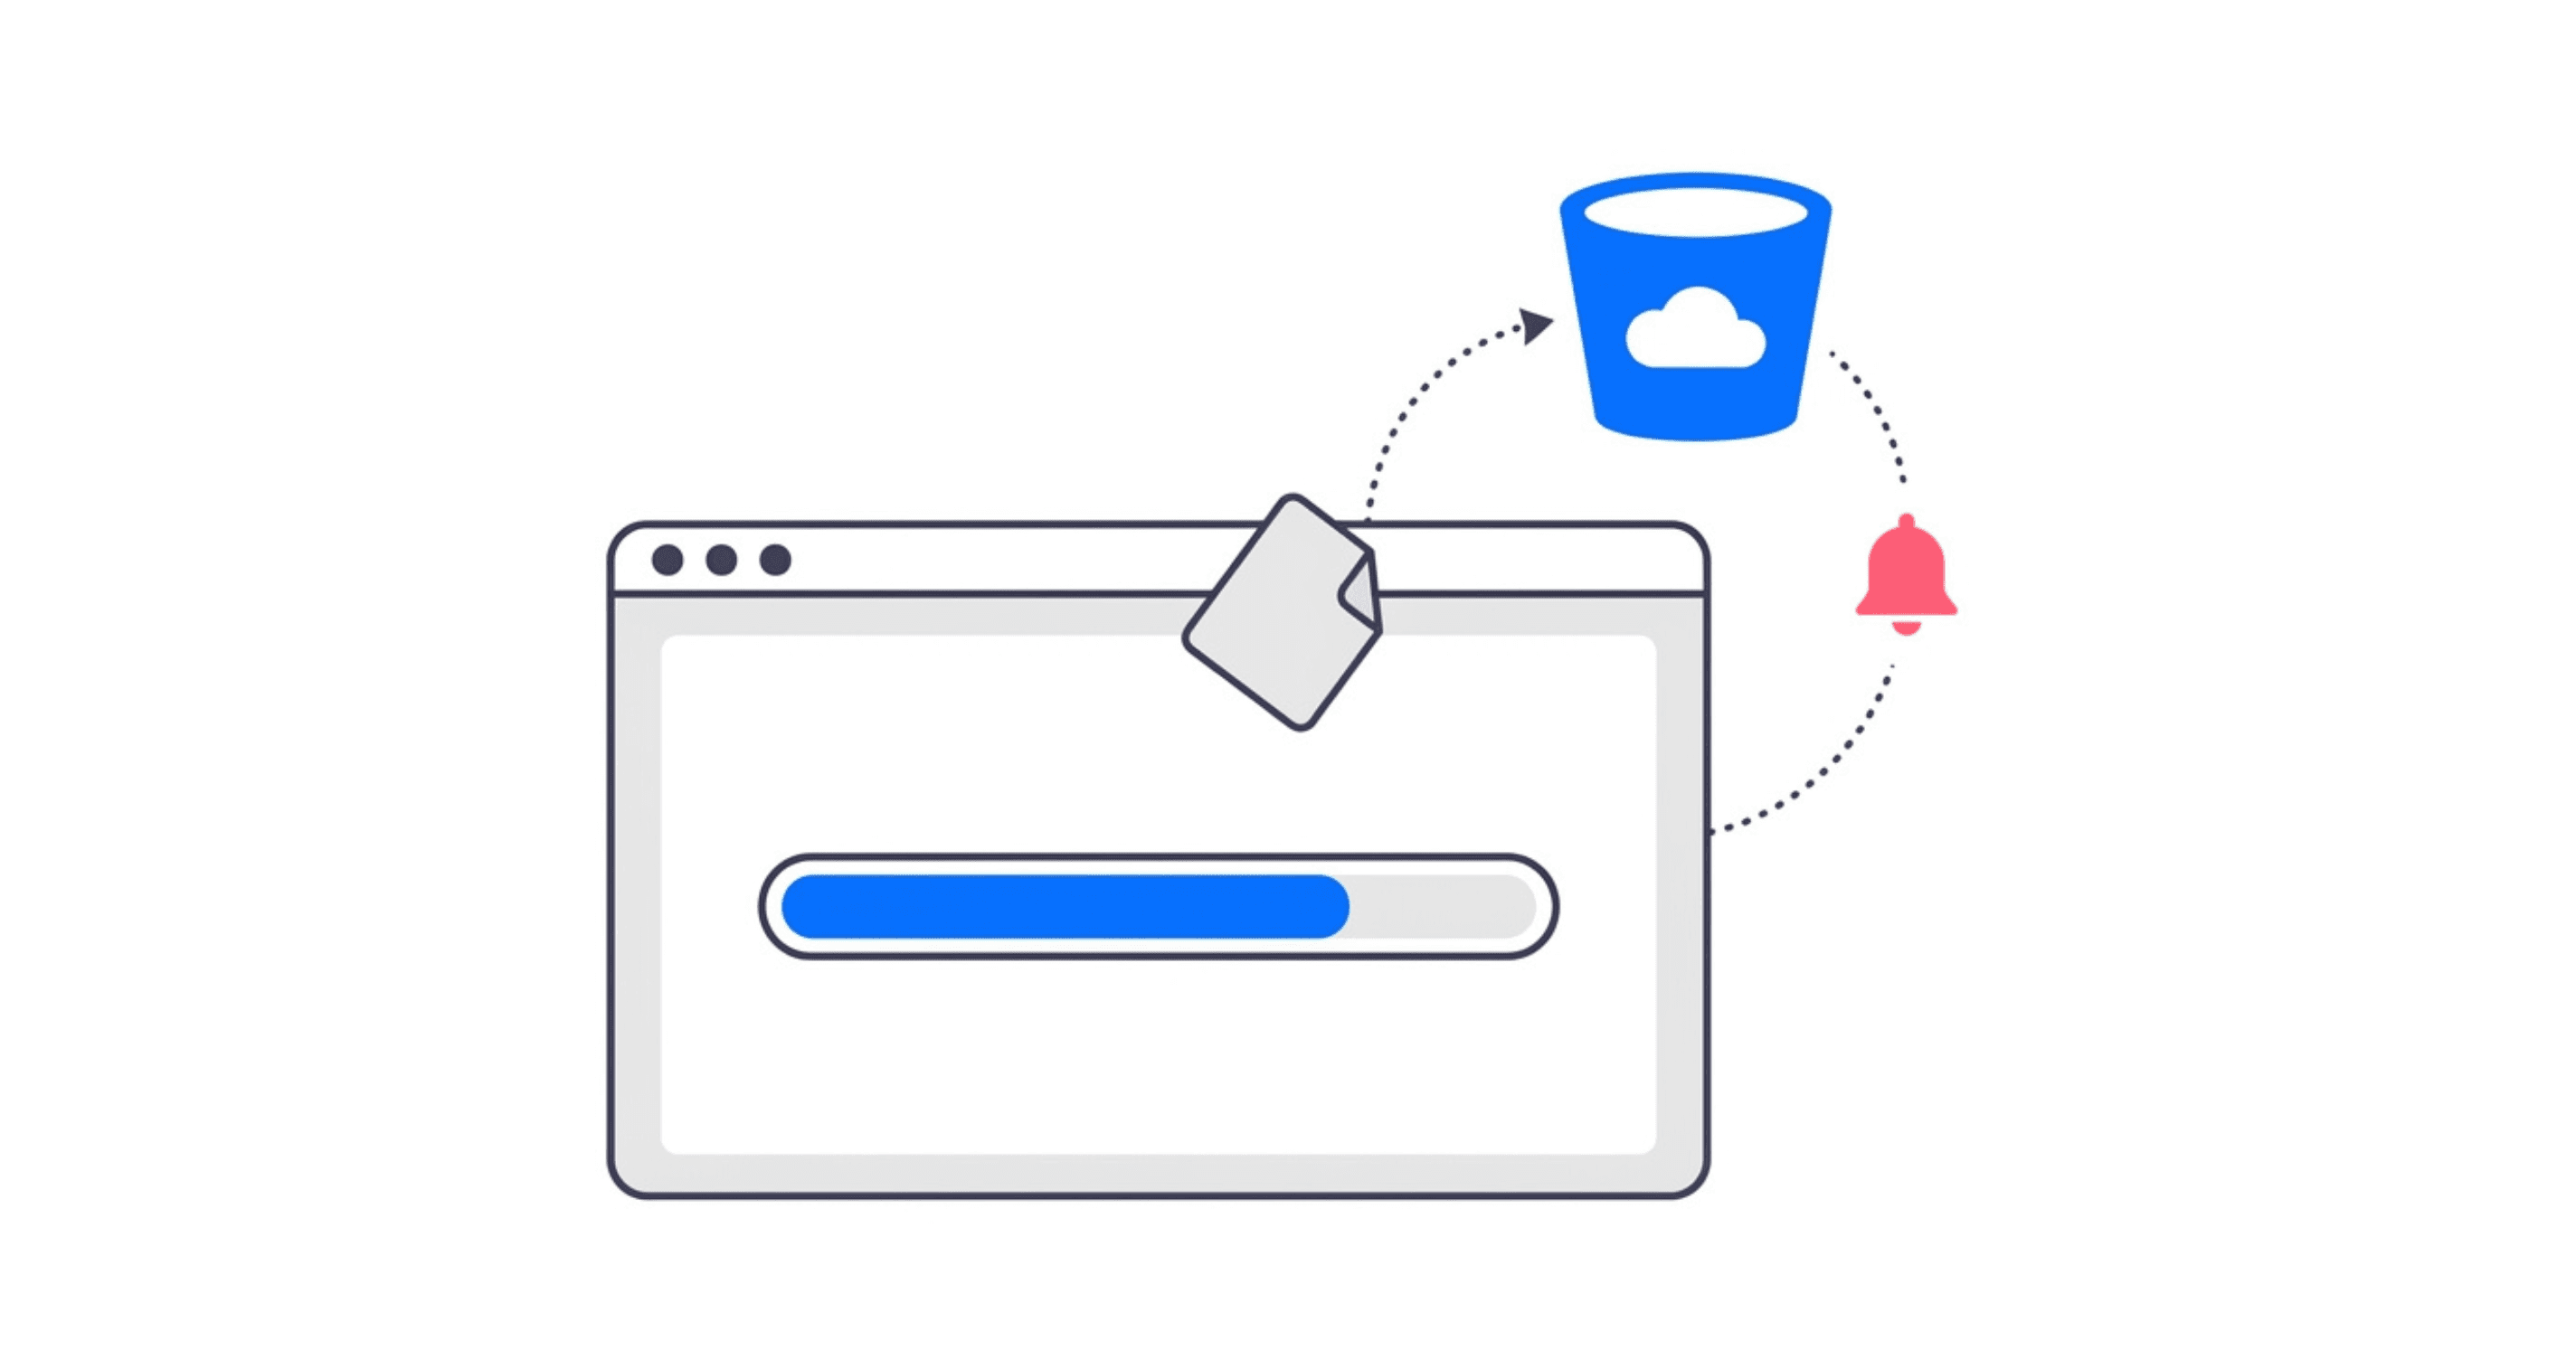
Watching the Webhook Fire
After the upload completes, Rilavek posts to your webhook URL within seconds. Open your webhook.site tab (or your own endpoint's logs) and you'll see a payload like this:
{
  "event": "file.status_changed",
  "timestamp": "2026-04-14T09:32:17.841Z",
  "data": {
    "pipe_id": "YOUR_PIPE_ID",
    "file_id": "f5e6d7c8-b9a0-4123-8d2e-1234567890ab",
    "filename": "quarterly-report.pdf",
    "status": "transferred",
    "size": 2847293,
    "sender": "frontend-uploader",
    "protocol": "tus",
    "destinations": [
      {
        "destinationId": "d3c2b1a0-e9f8-4123-8d2e-0987654321fe",
        "status": "transferred"
      }
    ]
  }
}
The file is in S3. The webhook fired. Your backend (or Zapier, or n8n, or a Lambda) can act on it immediately. No polling, no S3 event notification setup, no EventBridge rules to configure.
That's the "react instantly" side of this. The upload completes, the payload arrives. You can trigger a Slack message, kick off a document processing job, or update a database record, all without ever having to check whether the upload happened.
What if the User Closes the Tab Mid-Upload?
tus-js-client stores upload progress in localStorage by default. If the user closes the tab and comes back later, calling upload.findPreviousUploads() at the start lets you pick up exactly where you left off. The snippet above already does this.
The server holds the byte offset. The client looks it up on reconnect. The user doesn't restart from zero.
This is genuinely different from a presigned URL retry. With presigned URLs, you'd need to track the ETag list and the last uploaded part number yourself, serialize it somewhere, and figure out how to resume the multipart session before it expires. With TUS, the protocol handles all of that. You just call findPreviousUploads().
Try It on the Free Tier
The free tier is 10 GB/month of transfer, unlimited Pipes, and no card required. That covers roughly 10,000 average-sized image uploads or a healthy batch of document uploads before you'd even get close to the limit. More than enough to build and validate the feature.
Create your free Pipe here and have this running in your app in under 5 minutes.
Technical Reference & Next Steps
- HTTP (TUS) Source Docs: Full endpoint specifications, token structure, and client setup.
- Webhook Docs: Payload structure, HMAC signature verification, and deduplication patterns.
- Resumable Uploads Deep Dive: Why TUS beats raw multipart at scale in our technical walkthrough.
Enjoyed this guide?
Share it with your network to help others scale their data pipelines.