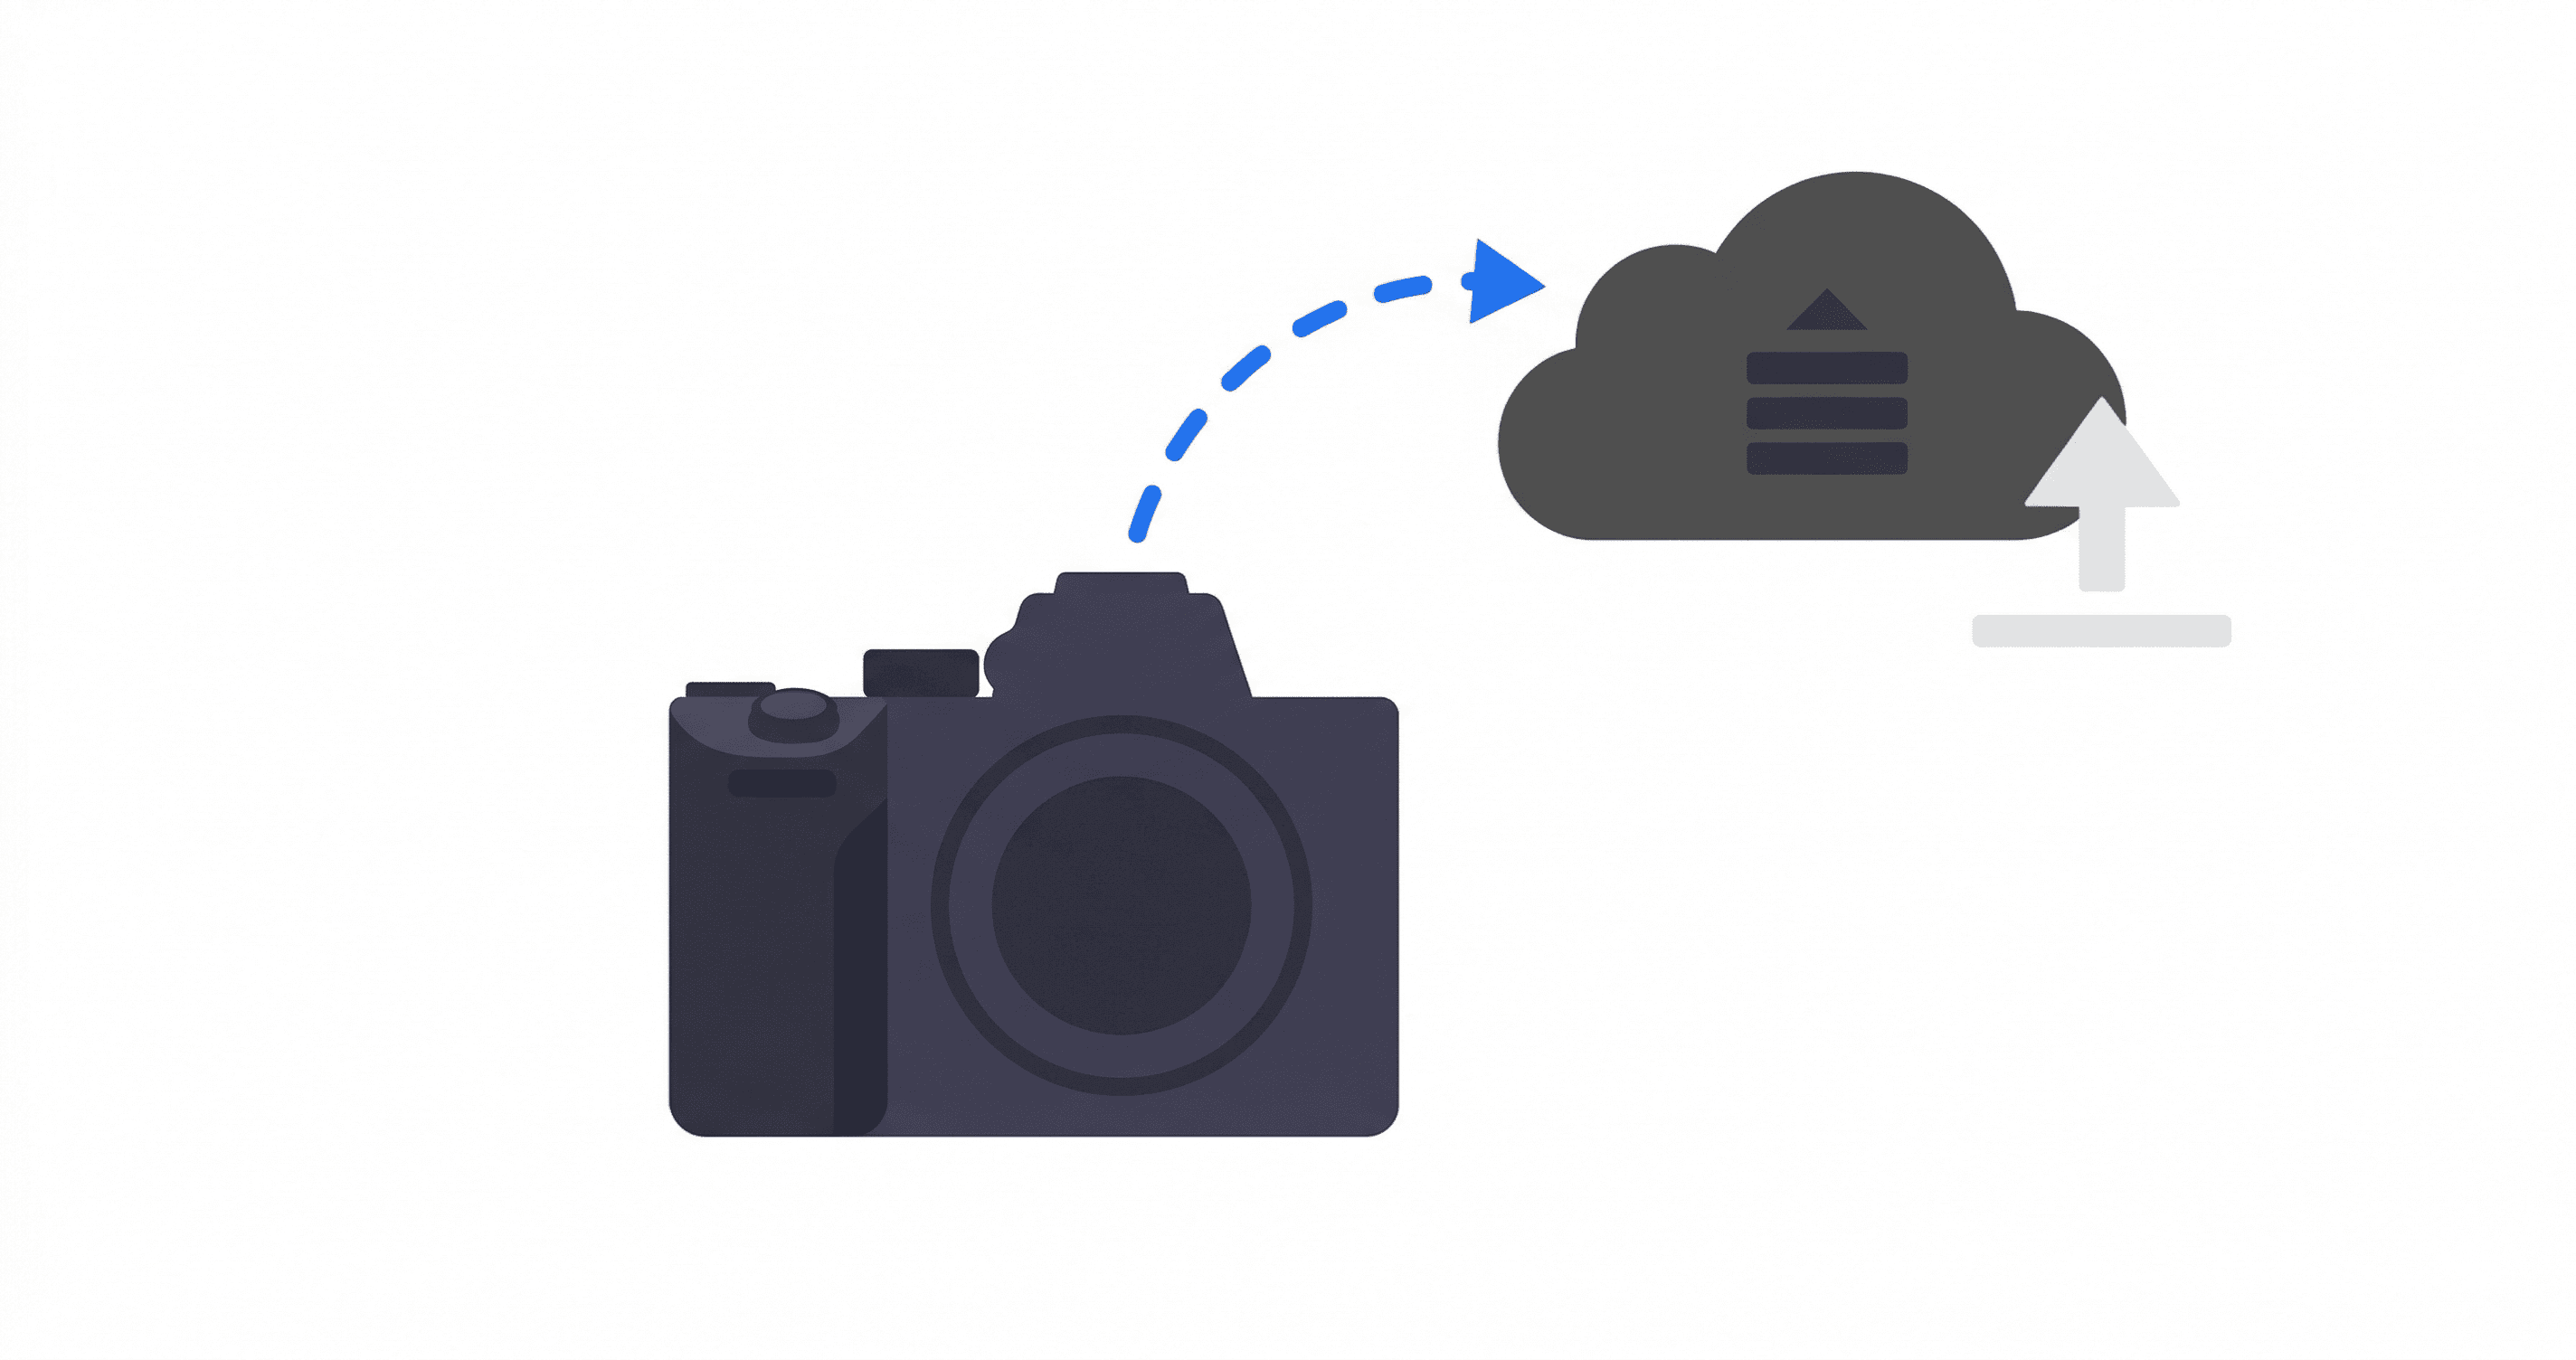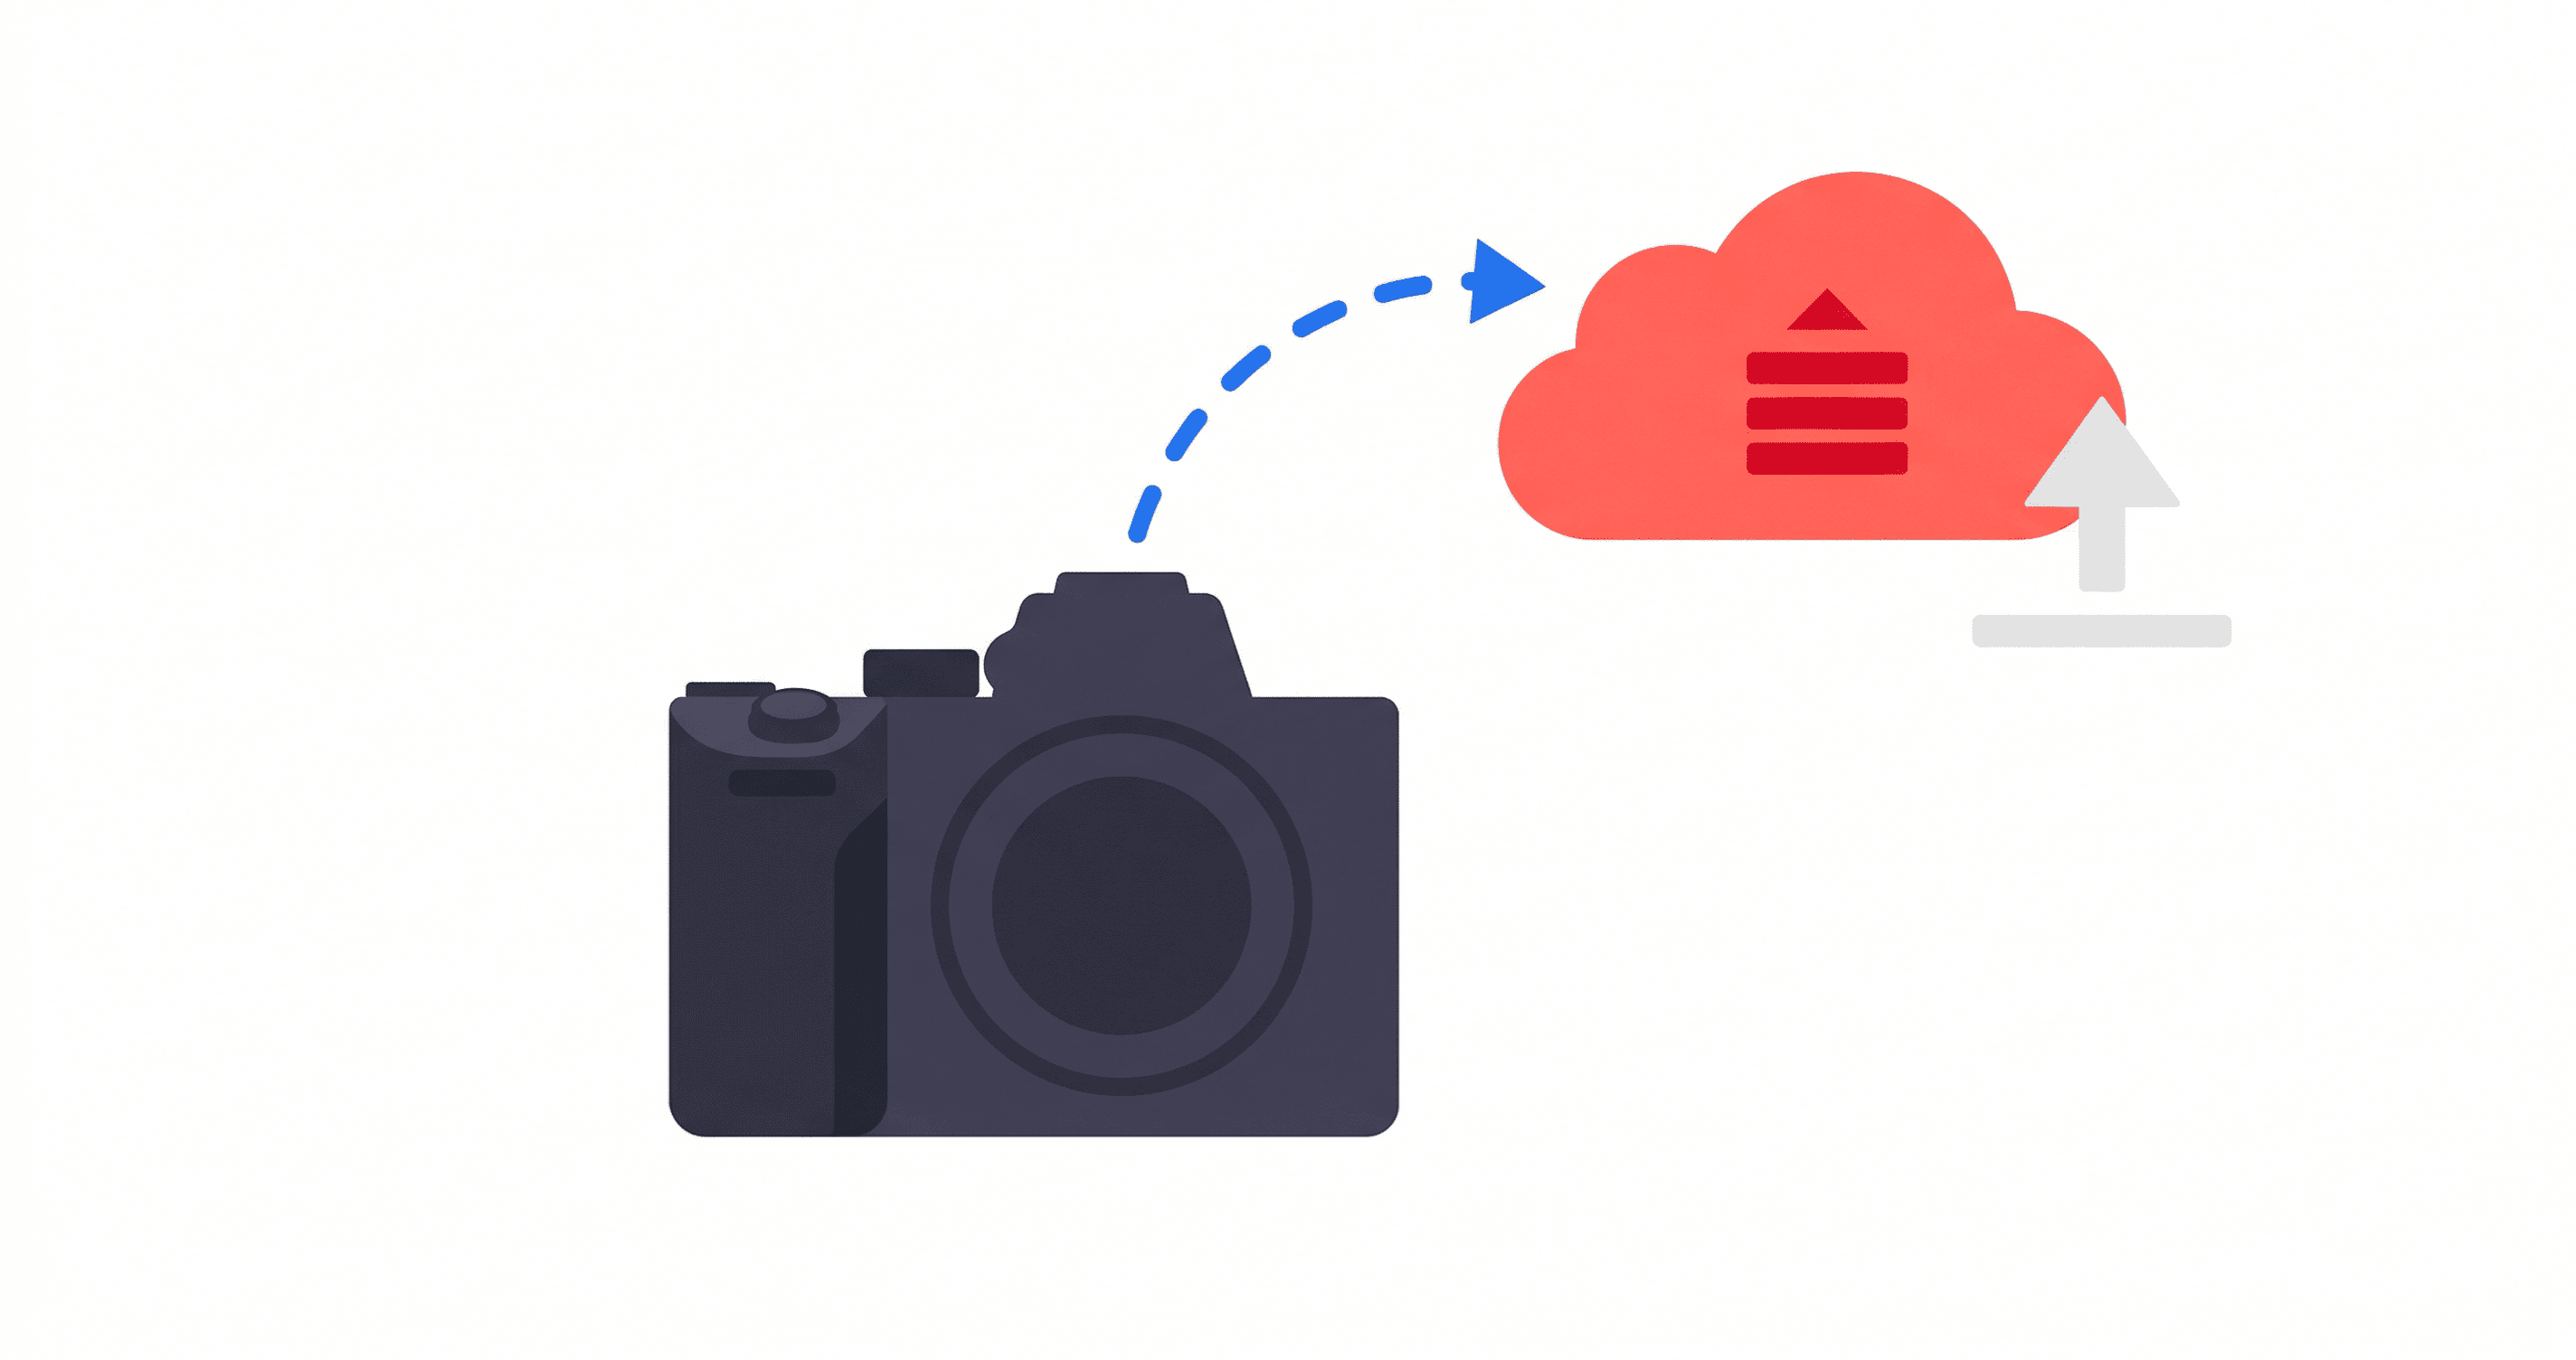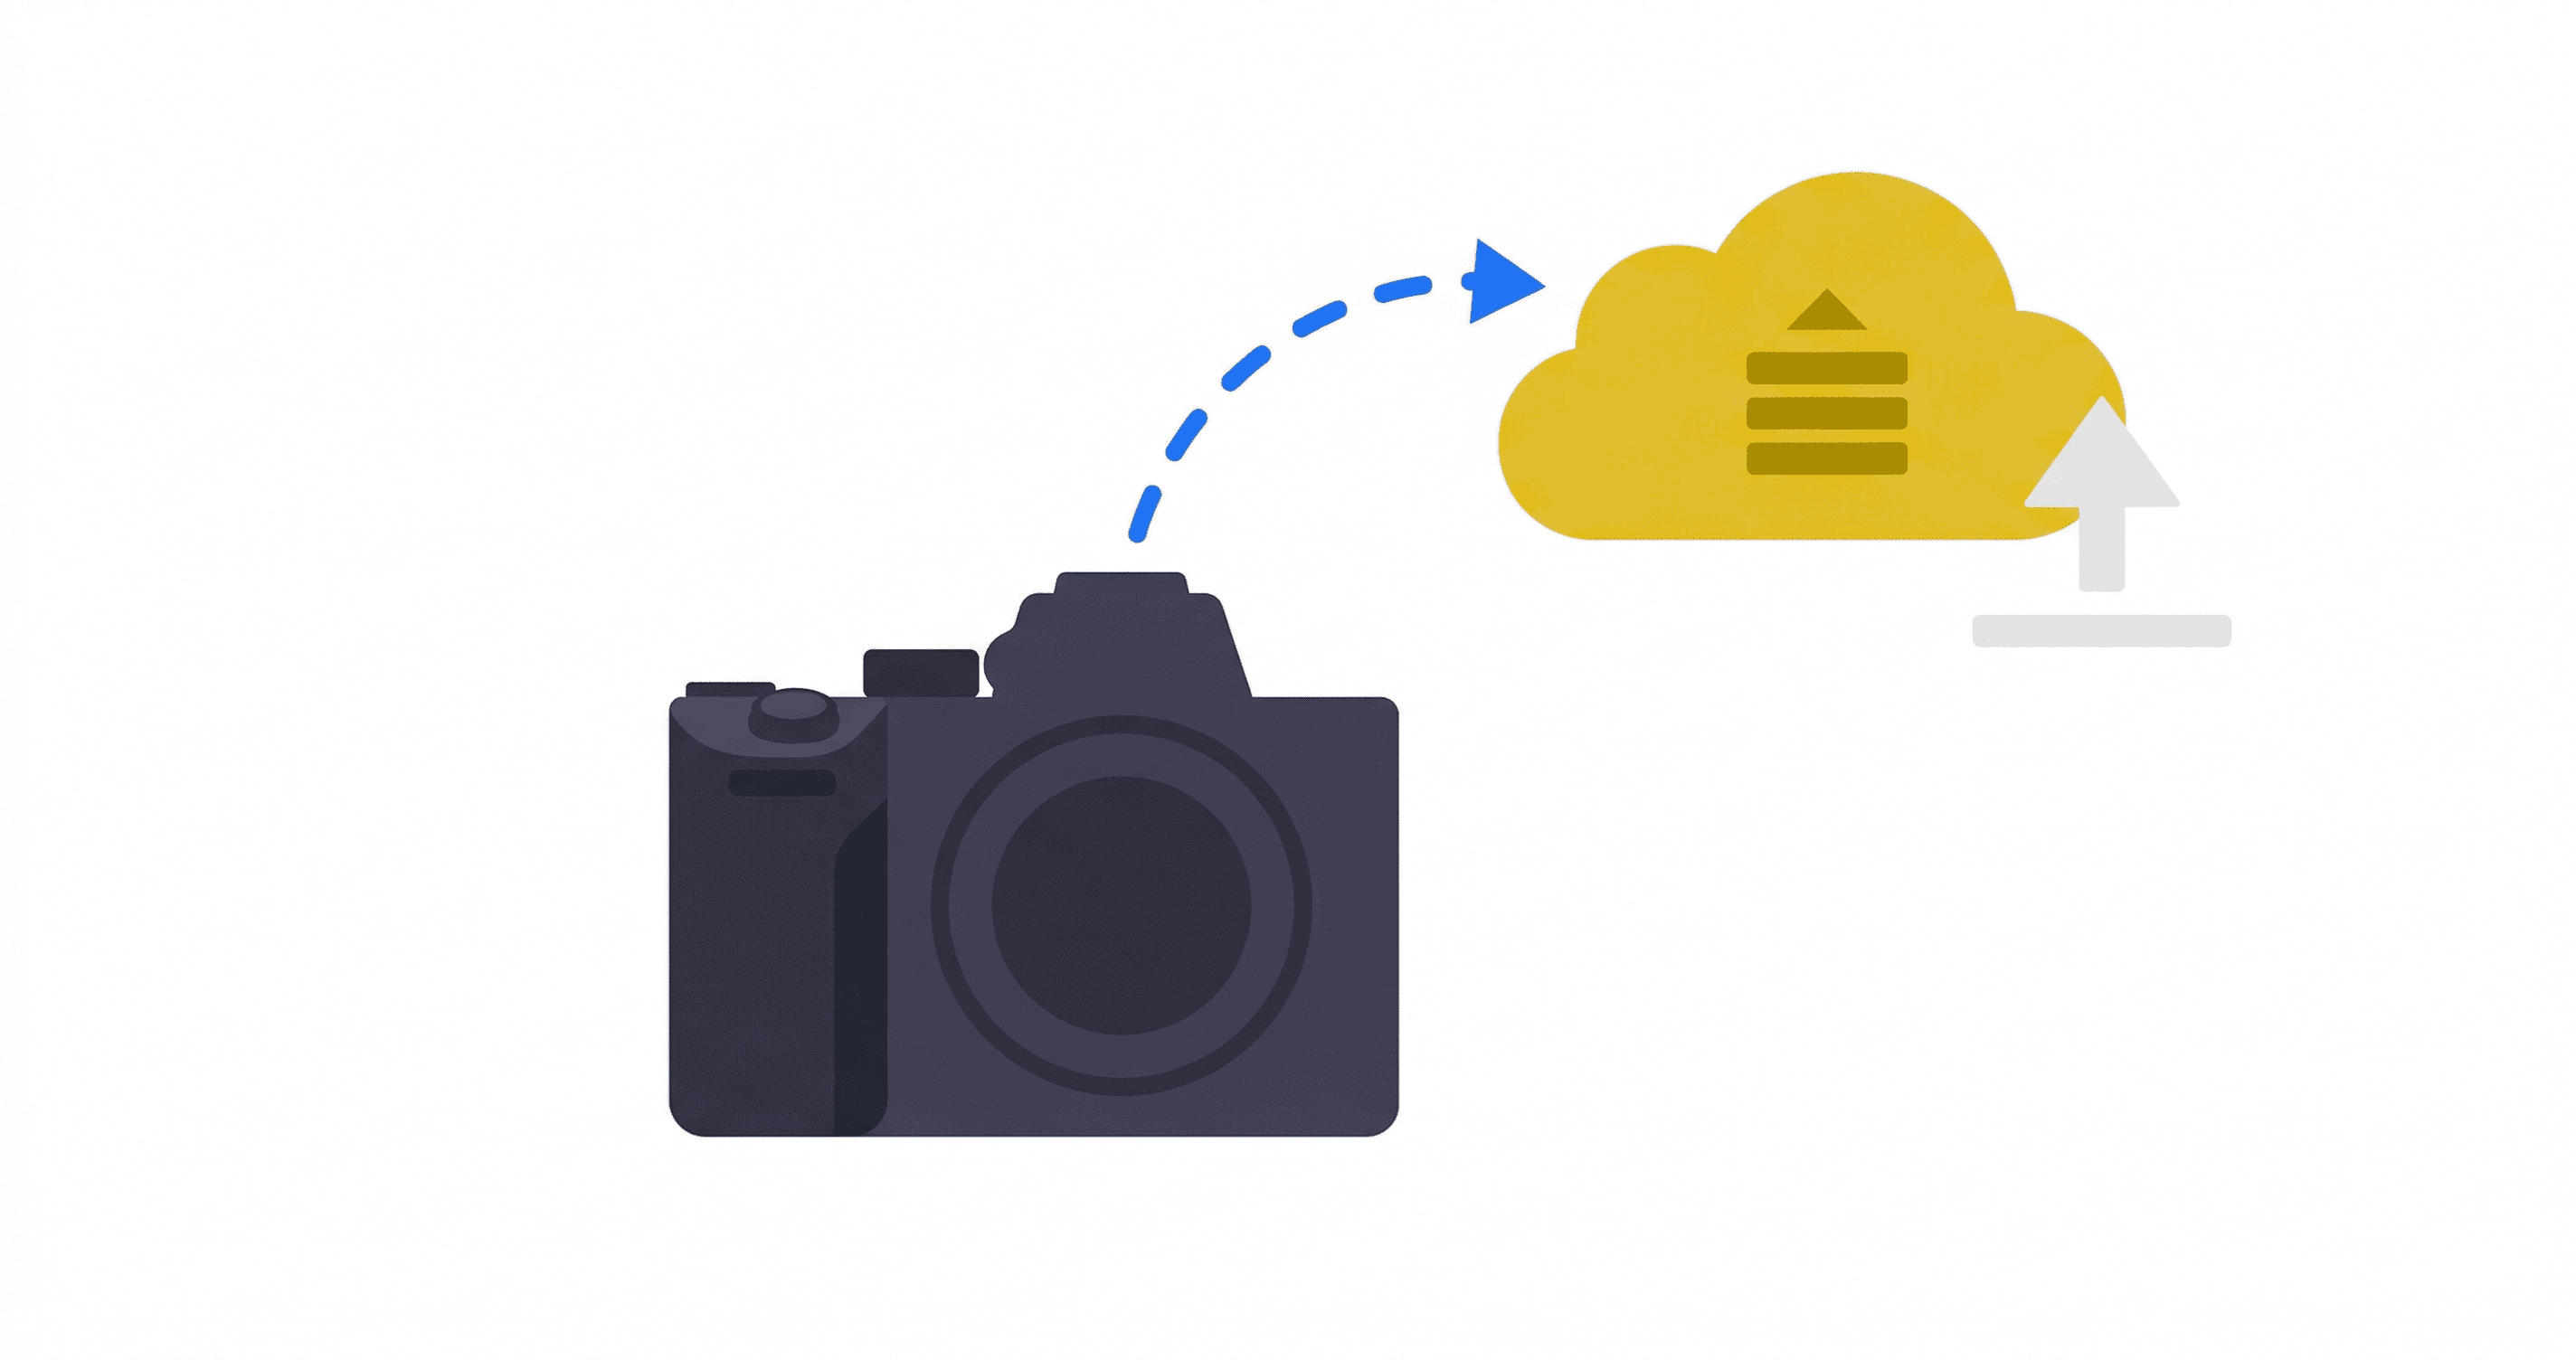
For professional sports, news, and wedding photographers using Nikon's Z-series, delivering images instantly is a competitive advantage. Nikon's pro bodies (Z9, Z8) come with powerful built-in FTP capabilities.
This guide shows you how to connect your Nikon camera directly to the cloud, bypassing the need for a laptop or phone app.
Prerequisites
- Nikon Camera with FTP support (Z9, Z8, Z6 III, D6).
- Internet Connection: 5G Mobile Hotspot, Venue Wi-Fi, or Ethernet (built-in on Z9).
- Rilavek Account: To act as the bridge between FTP and S3.
Step 1: Create a Pipe & Sender
First, configure the data store and access credentials in Rilavek.
- Log in to your Rilavek Dashboard.
- Create a Pipe: Connect it to your desired S3 data store (e.g.,
s3://my-agency-bucket/live-event/). Note the Pipe ID (e.g.,pipe_123). - Create a Sender: Go to Senders, create a new one (e.g.,
NikonCam), and copy the password. - Construct your FTP Username: Combine the Sender name and Pipe ID with an
@symbol.- Format:
SenderName@PipeID - Example:
NikonCam@pipe_123
- Format:
Step 2: Configure Network & FTP Profile
Nikon combines network and FTP settings into "Connect to FTP server" profiles.
- Press
MENUon your camera. - Navigate to the Network Menu (looks like a globe/antenna).
- Select Connect to FTP server.
- Select Network settings → Create profile.
- Use the Connection Wizard.
- Connection Method:
- Select Wi-Fi for wireless.
- Select Wired Use for Ethernet (Z9 only or via adapter).
- Wi-Fi Setup: Select your SSID (Phone Hotspot/Venue) and enter the password. Obtain IP address automatically (DHCP).
Step 3: Configure FTP Server Details
Once the network connection is established, the wizard will ask for FTP details.
- Server Type: Select FTP (or FTPS if needed).
- Address: Enter
ftp.rilavek.com. - Port: Enter
21. - Anonymous Login: Select OFF.
- User ID: (Your combined username:
SenderName@PipeID). - Password: (Paste the Rilavek Sender Password).
- Destination Folder: Choose Home (downloads to root) or enter a folder name.
- PASV Mode: The wizard may ask to verifying settings. Ensure PASV mode is enabled in the options if asked (found in Options > TCP/IP later if not prompted).
- Finish the wizard and give the profile a name (e.g.,
Rilavek).
Step 4: Connect and Configure Options
- In the Connect to FTP server menu, highlight your new profile and ensure the switch is ON.
- The camera will attempt to connect. The profile name usually turns Green when connected.
- Go to Options (in the Connect to FTP server menu):
- Auto upload: Set to ON for immediate transfer of every shot. Set to OFF for manual selection.
- Delete after upload: Keep OFF (always backup on card!).
- Overwrite if same name: OFF.
Step 5: Manual Selection (Recommended)
If you don't want to upload every blurry frame, use the manual workflow:
- Set Auto upload to OFF.
- Assign the top Fn1 or Fn2 button (or use the
imenu) to "Select for upload (FTP)". - While reviewing images in Playback mode:
- Press the i button.
- Select Select for upload (FTP).
- A white transfer icon will appear on the image.
- Alternatively, holding the configured Fn button + pressing the OK button can be creating a shortcut.
Step 6: Start Shooting
- Return to shooting mode.
- Take a picture.
- Look for the FTP Icon (arrow into cloud) on the top display or EVF:
- Green: Connected.
- Blinking: Transmitting.
- Red: Error.
Pro Tip: The Nikon Z9 has one of the industry's best implementations of "Priority Upload". If you have a backlog of images uploading, you can "protect" or "star" an image to force it to jump to the front of the queue for immediate delivery.
Your images are now live in S3, essentially the moment you press the shutter.
Enjoyed this guide?
Share it with your network to help others scale their data pipelines.