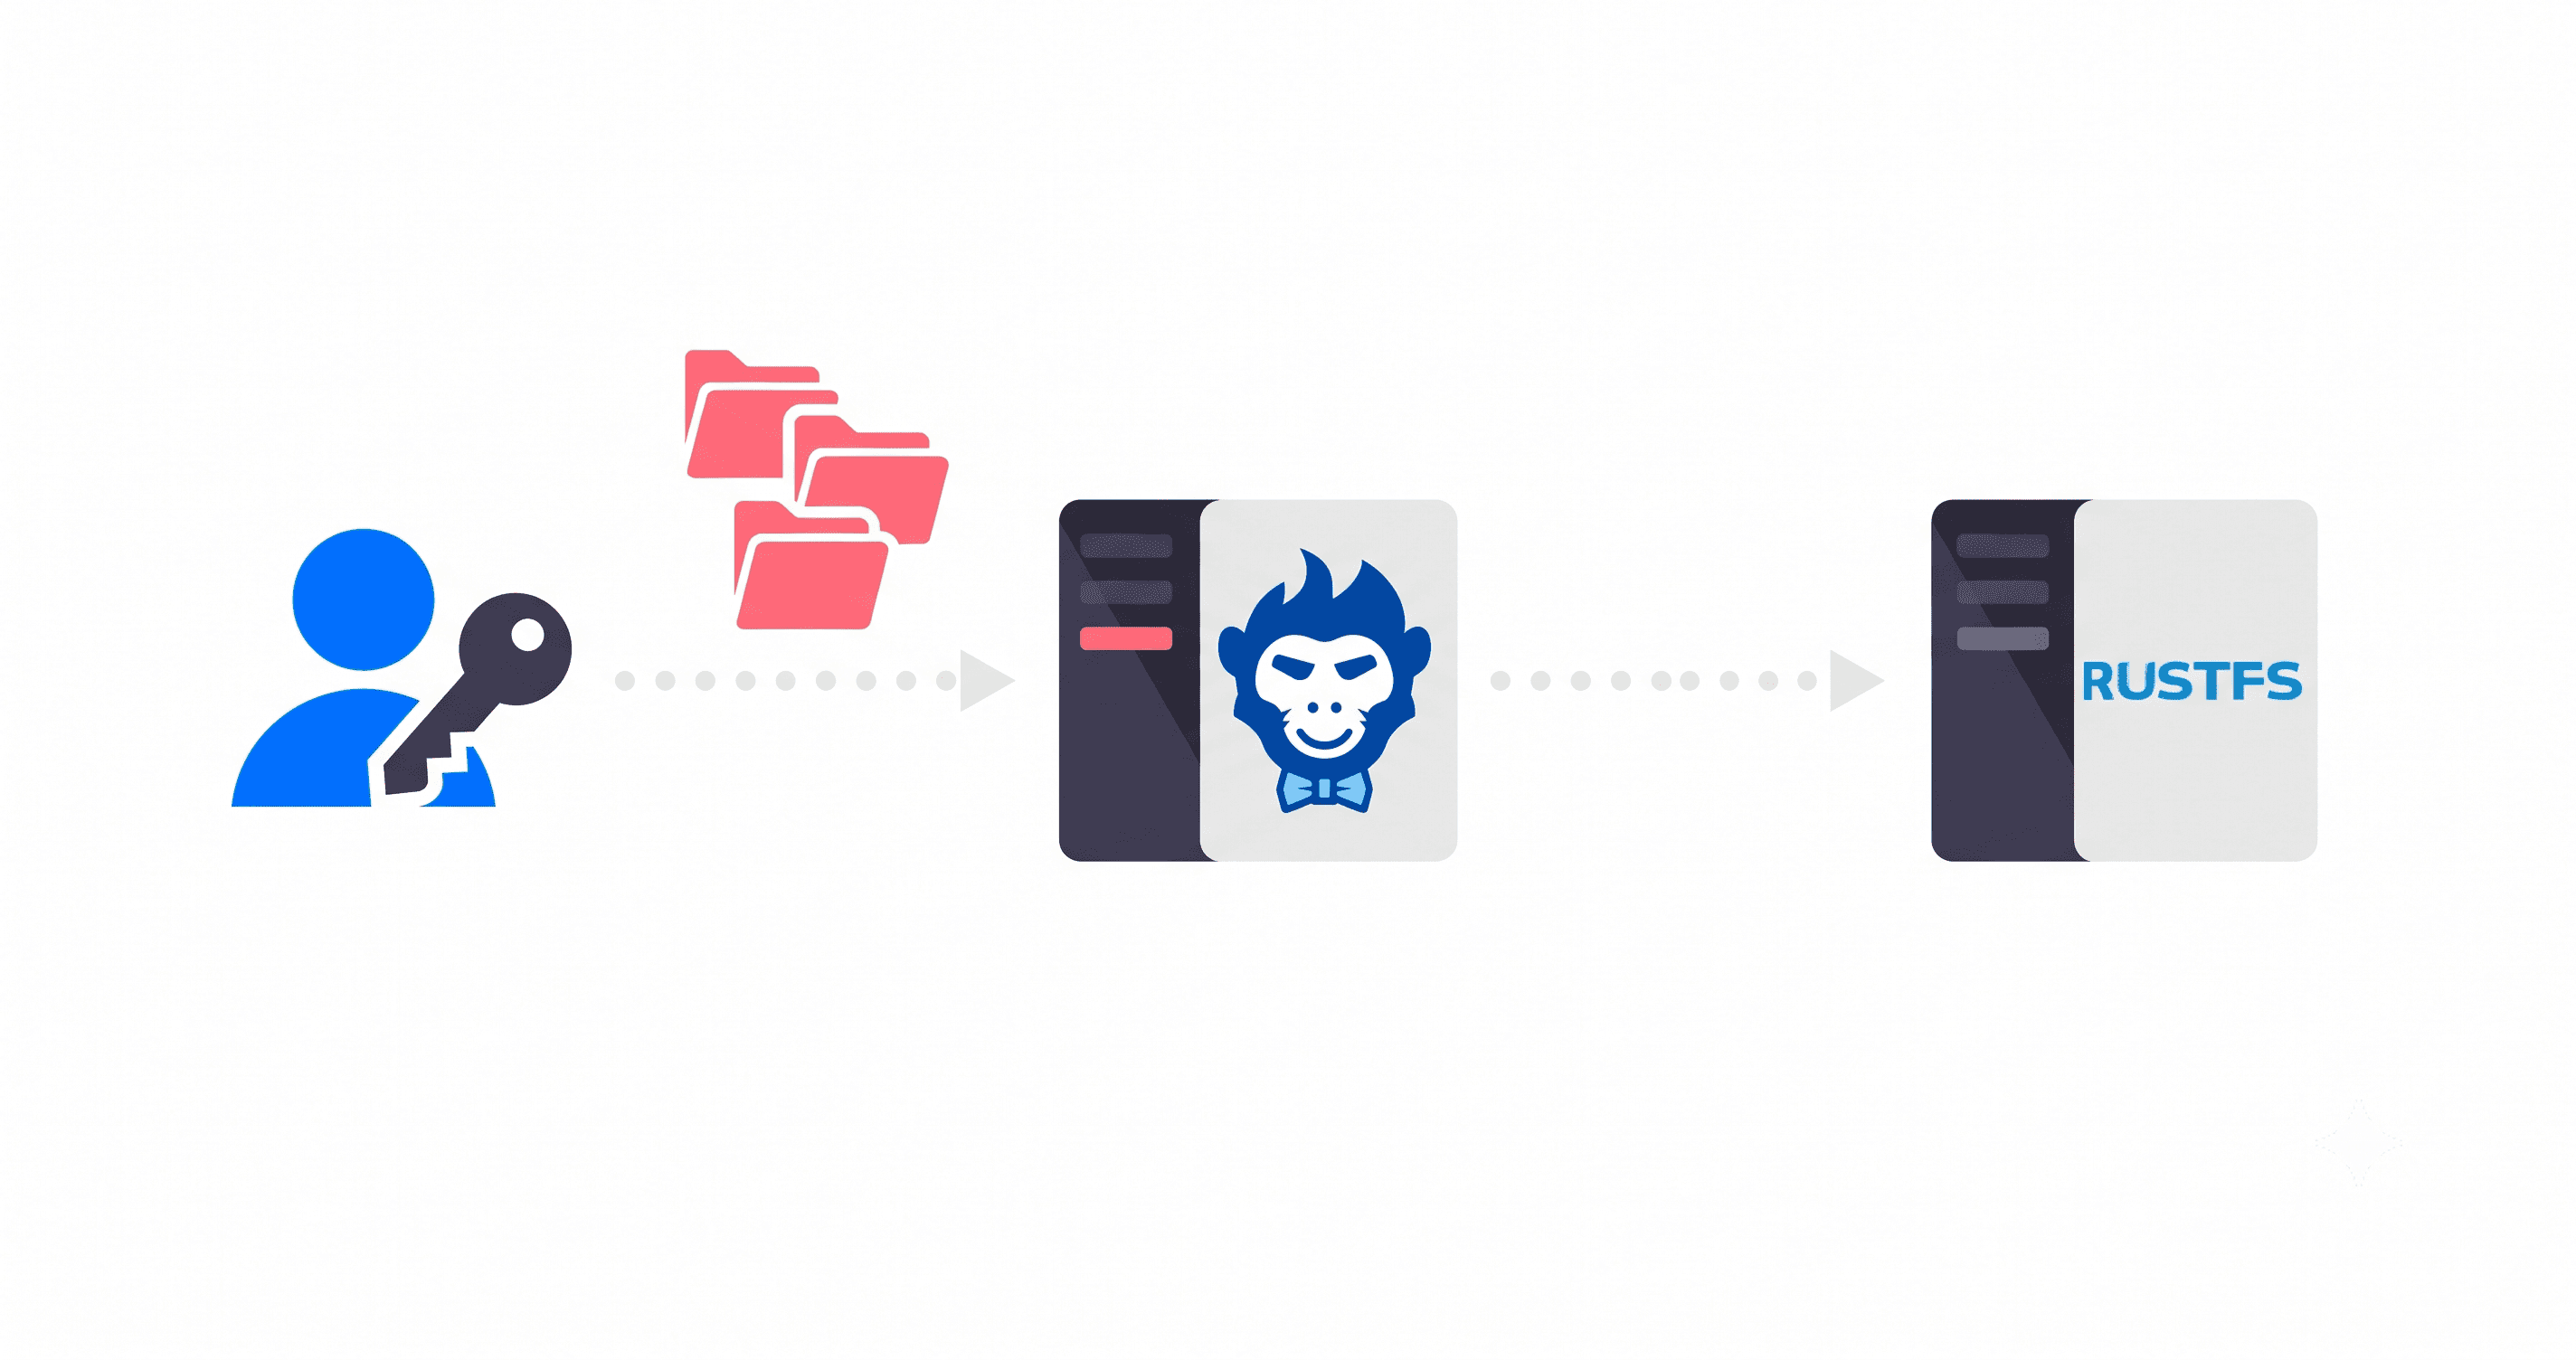
If you've been watching the self-hosted storage space, RustFS has quietly become the go-to MinIO replacement. Apache 2.0 licensed, ships with a proper web console, doesn't need beefy hardware. For teams running away from MinIO's commercial pivot, it's the obvious next stop.
Here's the part nobody talks about though: what do you do when something needs to push files into your RustFS bucket over SFTP?
A partner sends invoices every morning via SFTP. A camera uploads footage on a timer. Some legacy system your company inherited speaks SFTP and nothing else. The files need to get into your RustFS bucket, but standing up an OpenSSH server just to bridge the gap feels like the wrong answer. It is the wrong answer. You'd be patching it forever, managing authorized_keys by hand, and debugging chroot jails at 11pm when a vendor calls saying their upload "just stopped working."
Rilavek handles all of that. Point your SFTP sender at sftp.rilavek.com, and the files land in your RustFS bucket. No server on your end.
How it fits together
Your SFTP sender -> sftp.rilavek.com:2222 -> Rilavek -> RustFS S3 endpoint
Rilavek takes the incoming SFTP connection and streams the file straight to your RustFS bucket over the S3 API. Nothing sits on Rilavek's storage. The file passes through in memory and hits your bucket. That's the whole trick.
You're not running SSH. No authorized_keys file to babysit. No passive FTP port ranges to punch through a firewall. Your sender connects to sftp.rilavek.com, and the file ends up where you want it.
What you'll need before starting
- A running RustFS instance with the S3 API reachable on port
9000(or wherever you've pointed it). Not set up yet? The RustFS quickstart gets you to a working bucket in under 15 minutes with Docker or a binary install. - An access key and secret key for a RustFS user that can write to your target bucket.
- A Rilavek account. The free tier gives you 10GB of transfer a month, no card needed.
Step 1: Add RustFS as a data store
Head into the Rilavek dashboard and open Data Stores, then click New Data Store.
You'll land on a grid of storage providers. Click the RustFS option. It has its own tile in the Object Storage section, so you don't need to hunt for a generic S3 option.
Fill in the fields:
| Field | What to enter |
|---|---|
| Name | Anything recognisable, like RustFS Production |
| Endpoint | Your RustFS S3 address, e.g. http://192.168.1.100:9000 or https://storage.yourdomain.com |
| Access Key ID | Your RustFS access key |
| Secret Access Key | Your RustFS secret key |
| Bucket Name | The bucket where files should land |
| Region | Leave blank if you haven't set one; Rilavek defaults to us-east-1 for RustFS |
Click Save Data Store. Rilavek doesn't just save your credentials and hope for the best. It runs a quick write test against your bucket on the spot. If something's wrong with the credentials or the endpoint's unreachable, you get an error right there before anything is committed.
On private networks: If your RustFS instance lives inside a VPN or a private subnet, Rilavek can't reach it from the public internet. You'll need to expose the S3 port (9000) somehow. Cloudflare Tunnel is a solid option here since it punches out without requiring inbound firewall rules.
Step 2: Create a sender
Think of a Sender as an identity with its own login. Every SFTP client that'll be pushing files should get its own Sender. Not because it's complicated to share credentials, but because you'll thank yourself later when you need to revoke one partner's access without touching everyone else's.
Go to Senders in the dashboard and click New Sender. The form is short:
- Display Name: Something human, like
Invoice PartnerorWarehouse Camera 01 - Username: The FTP/SFTP login name. Lowercase, at least 6 characters, letters and numbers and underscores only.
- Email: Optional, used for notifications.
Hit Create Sender. Rilavek generates a password automatically. Write it down now. It's shown exactly once, and there's no recovery option. You'll need that username and password when you set up the SFTP client.
Step 3: Wire it up with a pipe
A Pipe is what connects an input protocol to a destination bucket. Go to Pipes and click Create Pipe. Give it a name like Partner SFTP to RustFS, add a description if you want, and create it.
The pipe settings page is where the actual plumbing happens. You need to do three things here.
Enable SFTP as an input
In the Inputs section, click Add Input and pick SFTP. Once it's enabled, the dashboard shows your ready-to-use connection details:
Host:     sftp.rilavek.com
Port:     2222
Username: <sender_username>@<pipe_id>
Password: <sender password>
Worth noting: the username isn't just the sender's username on its own. It's sender_username@pipe_id. The pipe ID scopes the connection to this specific pipe, so Rilavek knows exactly where to route the upload.
Connect your RustFS data store
In the Data Stores section, click Add Primary Data Store and select the RustFS data store you just set up in Step 1.
Grant your sender access
Open the Access Control section, find the Individuals tab, and use the Add Sender dropdown to pick the sender from Step 2.
This is important. A sender that exists in your account but hasn't been explicitly added to a pipe's access control can't upload to it. It's how Rilavek keeps 10 different vendors isolated from each other even though they all connect to the same host.
Step 4: Test it
Before you hand credentials to anyone, try it yourself. From the command line:
sftp -P 2222 <sender_username>@<pipe_id>@sftp.rilavek.com
Enter the password when it asks. Then put a test file:
sftp> put test-file.txt
Uploading test-file.txt to /test-file.txt
test-file.txt                                    100%   14     0.0KB/s   00:00
sftp> bye
If you prefer a GUI, open WinSCP or Cyberduck, set the protocol to SFTP, host to sftp.rilavek.com, port to 2222, and use the full sender@pipe_id username. Drop a file, close the connection.
Step 5: Check RustFS
Open your RustFS web console (usually at http://localhost:9001 if you're running it locally) and check the bucket. The file should be sitting there within seconds of the SFTP transfer finishing.
No console? Use the AWS CLI:
aws s3 ls s3://your-bucket-name/ \
  --endpoint-url http://localhost:9000
See the file in the listing? You're done.
Running multiple senders into one pipe
This is actually one of the nicer things about the setup. You can have 10 different partners all SFTPing into the same pipe and the same RustFS bucket, each with their own isolated credentials. From a partner's point of view, they've got a private SFTP server. From your end, all the files land in one bucket and the Rilavek dashboard tells you exactly who sent what and when.
Setup is straightforward: create a separate Sender for each partner, then add them all to the pipe's Access Control. If you need to cut off Partner A's access, remove them from the list. Partner B doesn't notice a thing.
Webhooks (optional, but worth it)
Files landing in RustFS is great. Doing something useful with them is better. In your pipe settings, drop in a Webhook URL and Rilavek will POST a notification every time a transfer completes:
{
  "event": "file.status_changed",
  "timestamp": "2026-07-23T09:14:22.801Z",
  "data": {
    "pipe_id": "YOUR_PIPE_ID",
    "file_id": "a1b2c3d4-e5f6-7890-abcd-ef1234567890",
    "filename": "invoice-2026-07-23.pdf",
    "status": "transferred",
    "size": 204800,
    "sender": "Invoice Partner",
    "protocol": "sftp",
    "destinations": [
      {
        "destinationId": "d3c2b1a0-e9f8-4123-8d2e-0987654321fe",
        "status": "transferred"
      }
    ]
  }
}
The sender field is the display name of whoever uploaded the file, handy for per-partner audit trails. And do verify the X-Rilavek-Signature header. It's an HMAC-SHA256 signature over the request body. Skipping that check means anyone who stumbles on your webhook URL can trigger your downstream logic. The webhook docs have verification snippets in Python and Node.
When things don't go as planned
Connection refused. Nine times out of ten this is the port. SFTP clients default to port 22. Rilavek's SFTP endpoint is on 2222. Explicitly pass -P 2222 in the CLI, or set the port field in your GUI client.
Authentication failed. Double-check the username format. It's sender_username@pipe_id, not just the sender username on its own. Also confirm the sender has been added to that pipe's Access Control. Having a sender in your account doesn't automatically grant it access to every pipe.
Files don't show up in RustFS. Start by checking the bucket name in your data store settings. RustFS won't create a bucket that doesn't exist. If the bucket name is right and it's still not working, re-save the data store to trigger another connectivity check. If your network topology has changed since you first saved it, the original validation may no longer reflect reality.
Rilavek can't reach your RustFS endpoint. Rilavek's infrastructure makes outbound S3 calls to whatever endpoint you configured. If that endpoint is on a private network now, those calls won't get through. Options: Cloudflare Tunnel (no inbound firewall changes needed), or an nginx reverse proxy on the S3 port with access controls in front of it.
Other storage that works with Rilavek
RustFS isn't your only option. Rilavek connects to any S3-compatible storage:
| Storage | Available in Rilavek |
|---|---|
| RustFS | Yes |
| MinIO | Yes |
| Backblaze B2 | Yes |
| Cloudflare R2 | Yes |
| AWS S3 | Yes |
| SeaweedFS / Garage / Ceph | Yes (select Generic S3) |
Pick your storage, enter your credentials, and Rilavek figures out the rest automatically.
What you end up with
Once everything's wired up, here's what you've got:
- SFTP senders connecting to
sftp.rilavek.com:2222with their own isolated credentials - Files streaming straight into your self-hosted RustFS bucket with no intermediate storage
- A webhook firing on every completed transfer so your downstream pipeline knows what arrived
- A transfer log in the Rilavek dashboard showing exactly who uploaded what and when
- Full ownership of the data at rest. Rilavek never touches your bucket outside of writing files to it.
The whole setup takes around 10 minutes if RustFS is already running. Most of it is filling out a few forms in the dashboard.
Try it free
Rilavek's free tier includes 10GB of monthly transfer, no credit card required. Set up your account, connect your RustFS instance, and have SFTP uploads landing in your self-hosted bucket before your next meeting.
Related reading
- Self-Hosted S3 Storage: RustFS, SeaweedFS, Garage, or Ceph?: Full comparison of your options if you haven't decided on RustFS yet.
- Give Every Vendor Their Own SFTP Login (Without Running Your Own SFTP Server): A deeper look at per-sender isolation and why it matters when you have multiple uploading partners.
- SFTP vs. FTPS vs. FTP: Which Protocol Should You Use in 2026?: Good background if you're still deciding whether SFTP is the right protocol for your situation.
- SFTP Source Docs: Full technical reference for SFTP configuration and connection limits.
- Webhook Docs: Payload structure, signature verification, and retry behaviour.
Enjoyed this guide?
Share it with your network to help others scale their data pipelines.